Spotlight/Downlight T2 Pro Series
Product Information
Basic Information
| Parameter | Description |
|---|---|
| Product Name | Spotlight T2 Pro |
| Product Type | Lighting |
| Communication Protocol | Zigbee, Thread, Bluetooth |
Product SKU Information
75mm Cut-out Standard Models
| Model Number | Product Image | Chinese Name | SKU Code | Barcode | Product ID |
|---|---|---|---|---|---|
| ZNSD07LM | 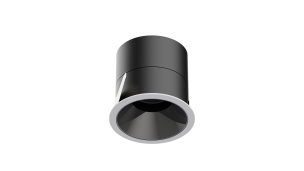 | Spotlight T2 Pro (12W 15° Black) Studio Edition | AL241CNB01 | 6978350356648 | A02341 |
| ZNSD08LM | 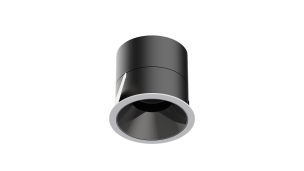 | Spotlight T2 Pro (12W 24° Black) Studio Edition | AL241CNB02 | 6978350356679 | A02342 |
| ZNSD09LM | 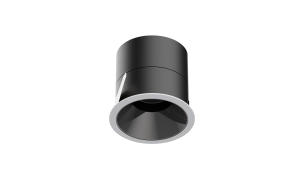 | Spotlight T2 Pro (12W 36° Black) Studio Edition | AL241CNB03 | 6978350356686 | A02343 |
| ZNSD10LM | 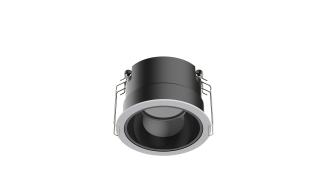 | Downlight T2 Pro (12W 60° Black) Studio Edition | AL241CNB04 | 6978350356693 | A02344 |
| ZNSD08LM | 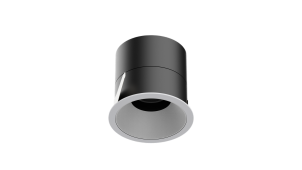 | Spotlight T2 Pro (12W 24° White) Studio Edition | AL241CNW14 | 6978350356709 | A02345 |
| ZNSD09LM | 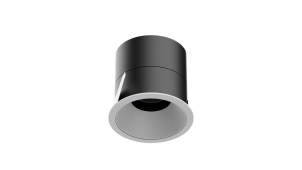 | Spotlight T2 Pro (12W 36° White) Studio Edition | AL241CNW15 | 6978350356716 | A02346 |
| ZNSD10LM | 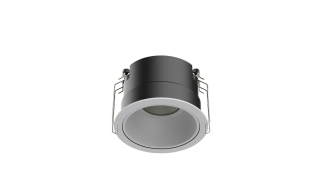 | Downlight T2 Pro (12W 60° White) Studio Edition | AL241CNW16 | 6978350356723 | A02347 |
75mm Cut-out Flush-mount Models
| Model Number | Product Image | Chinese Name | SKU Code | Barcode | Product ID |
|---|---|---|---|---|---|
| ZNSD11LM | 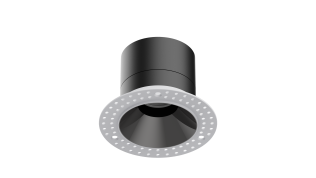 | Spotlight T2 Pro (12W 24° Flush-mount) Studio Edition | AL241CNW17 | 6978350356730 | A02348 |
| ZNSD12LM | 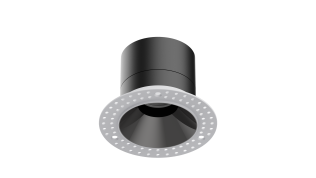 | Spotlight T2 Pro (12W 36° Flush-mount) Studio Edition | AL241CNW18 | 6978350356747 | A02349 |
| ZNSD13LM | 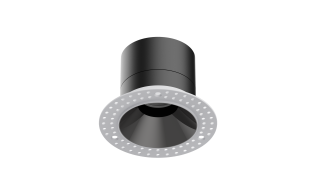 | Spotlight T2 Pro (12W 55° Flush-mount) Studio Edition | AL241CNW19 | 6978350356754 | A02350 |
55mm Cut-out Standard Models
| Model Number | Product Image | Chinese Name | SKU Code | Barcode | Product ID |
|---|---|---|---|---|---|
| ZNSD14LM | 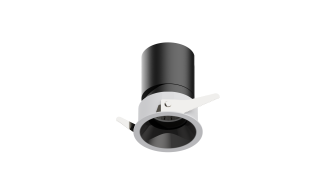 | Spotlight T2 Pro (8W 24° Black) Studio Edition | AL241CNW20 | 6978350356761 | A02351 |
| ZNSD15LM | 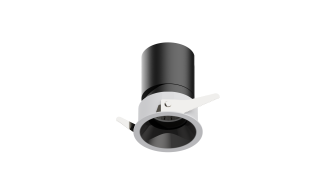 | Spotlight T2 Pro (8W 36° Black) Studio Edition | AL241CNW21 | 6978350356778 | A02352 |
| ZNSD16LM | 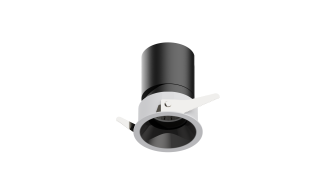 | Spotlight T2 Pro (8W 55° Black) Studio Edition | AL241CNW22 | 6978350356785 | A02353 |
Accessories
| Model Number | Product Image | Chinese Name | SKU Code | Barcode | Product ID |
|---|---|---|---|---|---|
| ZNSDDZ12LM | 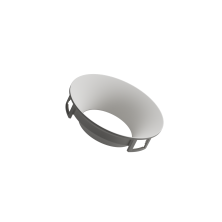 | T2 Pro 75mm Cut-out Matte White Reflector | AL242CNW01 | 6975833359554 | A01644 |
| ZNSDBK11LM |  | T2 Pro 55mm Cut-out Flush-mount Trim Ring | AL242CNW02 | 6975833359578 | A01645 |
| ZNSDDZ11LM | 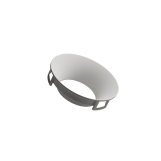 | T2 Pro 55mm Cut-out Matte White Reflector | AL242CNW03 | 6975833359561 | A01646 |
Product Highlights
Key Features
- Full-spectrum LED chips with Ra96+ high CRI, SDCM < 5 color consistency, delivering excellent color uniformity.
- 2700K-6000K wide-range color temperature adjustment with 0.01% million-level dimming depth for smooth, refined dimming performance.
- UGR < 16 low-glare design for comfortable visual experience, suitable for residential and commercial accent lighting.
- Multiple beam angles: 15° / 24° / 36° / 55° (spotlights) and 60° (downlights), covering all scenarios from accent lighting and wall washing to ambient illumination.
- Three installation forms: 75mm narrow-frame standard model, 75mm frameless flush-mount model, and 55mm framed standard model; available in black and white finishes, adaptable to different ceiling structures.
- Aluminum housing with recessed ceiling mount design, seamlessly integrating into interior decor.
- Supports Zigbee, Thread, and Bluetooth Low Energy (BLE) protocols; can connect to Aqara Gateway for scene-based control and device automation.
Product Specifications
Basic Specifications
| Parameter | Description |
|---|---|
| Operating Temperature | -10 ~ 45°C |
| Operating Humidity | 0 ~ 95% RH, non-condensing |
| Protection Rating | IP20 |
| Color Rendering Index (CRI) | Ra96 |
| Standard Deviation of Color Matching (SDCM) | < 5 |
| Dimming Depth | 0.01% |
| Unified Glare Rating (UGR) | < 16 |
| Communication Protocol | Zigbee (factory default), Thread, Bluetooth |
| Installation Method | Recessed ceiling mount (75mm / 55mm cut-out; flush-mount models require flush-mount kit) |
| Package Contents | Spotlight/Downlight T2 Pro × 1, User Manual × 1 |
Electrical Parameters
| Parameter | Description |
|---|---|
| Rated Power | 12W (75mm cut-out); 8W (55mm cut-out) |
| Input Voltage | 220-240V~ |
| Operating Frequency | 50/60Hz |
| Rated Current | 0.08A |
| Power Factor | PF 0.9 |
Light Source Parameters
| Parameter | Description |
|---|---|
| Color Temperature Range | 2700K-6000K |
| Luminous Flux | 680 lm (12W); 490 lm (8W) |
| Rated Lifespan | 25,000 hours |
| Beam Angle | Spotlight: 15° / 24° / 36° / 55°; Downlight: 60° |
Product Dimensions (excluding cable)
| Specification | Luminaire Body Dimensions | Driver Dimensions |
|---|---|---|
| Spotlight T2 Pro (75mm cut-out) | ⌀82 × H76 mm | 100 × 33 × 20 mm |
| Downlight T2 Pro (75mm cut-out) | ⌀85 × H55 mm | 100 × 33 × 20 mm |
| Spotlight T2 Pro (55mm cut-out) | ⌀60 × H80 mm | 100 × 33 × 20 mm |
| Flush-mount Model | ⌀110 × H76 mm | 100 × 33 × 20 mm |
Cut-out Dimensions
| Specification | Cut-out Size |
|---|---|
| 75mm Standard Model (Spotlight/Downlight) | ⌀75mm |
| 75mm Flush-mount Model | ⌀75mm (requires flush-mount kit installation) |
| 55mm Standard Model | ⌀55mm |
Main Materials
| Component | Material |
|---|---|
| Luminaire Body / Heat Sink | Aluminum |
| Lampshade / Reflector Cup | PC (Polycarbonate) |
Product Overview
The Spotlight T2 Pro Series is Aqara's smart spotlight/downlight product line designed for residential ambient lighting. As an upgraded version of the best-selling T2 series (launched August 2025), it adopts the MG24 main control module and Toyoda full-spectrum LED chips, with upgraded software platform and latest interaction design. The series covers three installation forms: 75mm narrow-frame standard model, 75mm frameless flush-mount model, and 55mm framed standard model, totaling 13 SKUs (dual power options of 12W / 8W), along with accessories such as matte white reflectors and flush-mount trim rings.
Based on Zigbee and Thread communication protocols, the device can be installed recessed into ceilings for individual or grouped dimming and color temperature control. When paired with an Aqara Gateway, it enables scene-based control and automation with other smart devices. The light source features Toyoda full-spectrum LED chips, supporting 2700K-6000K wide-range color temperature and 0.01% million-level dimming depth, with Ra96+ high CRI, SDCM < 5 color consistency, and UGR < 16 low glare — significantly improved light quality compared to the previous T2 generation.
- This device must be used with an Aqara Gateway for full functionality support. Certain specific features are only supported within the Aqara ecosystem.
Installation Instructions
Installation Requirements Confirmation
| Parameter | Description |
|---|---|
| Installation Tools | Screwdriver, electric drill (for cutting holes), insulated tools |
| Installation Environment | Indoor use only; applicable to recessed ceiling mount only |
| Installation Location | Dry ceiling surface; avoid heat sources |
| Power Requirement | 220-240V~ 50/60Hz household AC |
Installation Precautions
Installation involves high-voltage electrical work and must be performed by qualified professionals in accordance with electrical codes and the product instruction manual.
- This product is for indoor use only; do not use outdoors;
- Keep away from moisture; do not splash water or other liquids onto this product;
- Do not place this product near heat sources;
- Do not attempt to repair this product yourself; this work should be performed by authorized professionals;
- This luminaire is designed for recessed installation and is not suitable for installation inside conduits/pipes;
- If the external flexible cable or cord of this luminaire is damaged, it shall be replaced by the manufacturer, its service agent, or similarly qualified persons to avoid hazard;
- The light source inside this luminaire shall be replaced by the manufacturer, its service agent, or similarly qualified persons;
- Terminal blocks are not included; installation shall be performed by qualified personnel;
- Connection to fixed wiring requires spring terminals to prevent solder cold flow.
Under no circumstances should the luminaire be covered by thermal insulation materials or similar materials.
General Installation Procedure
-
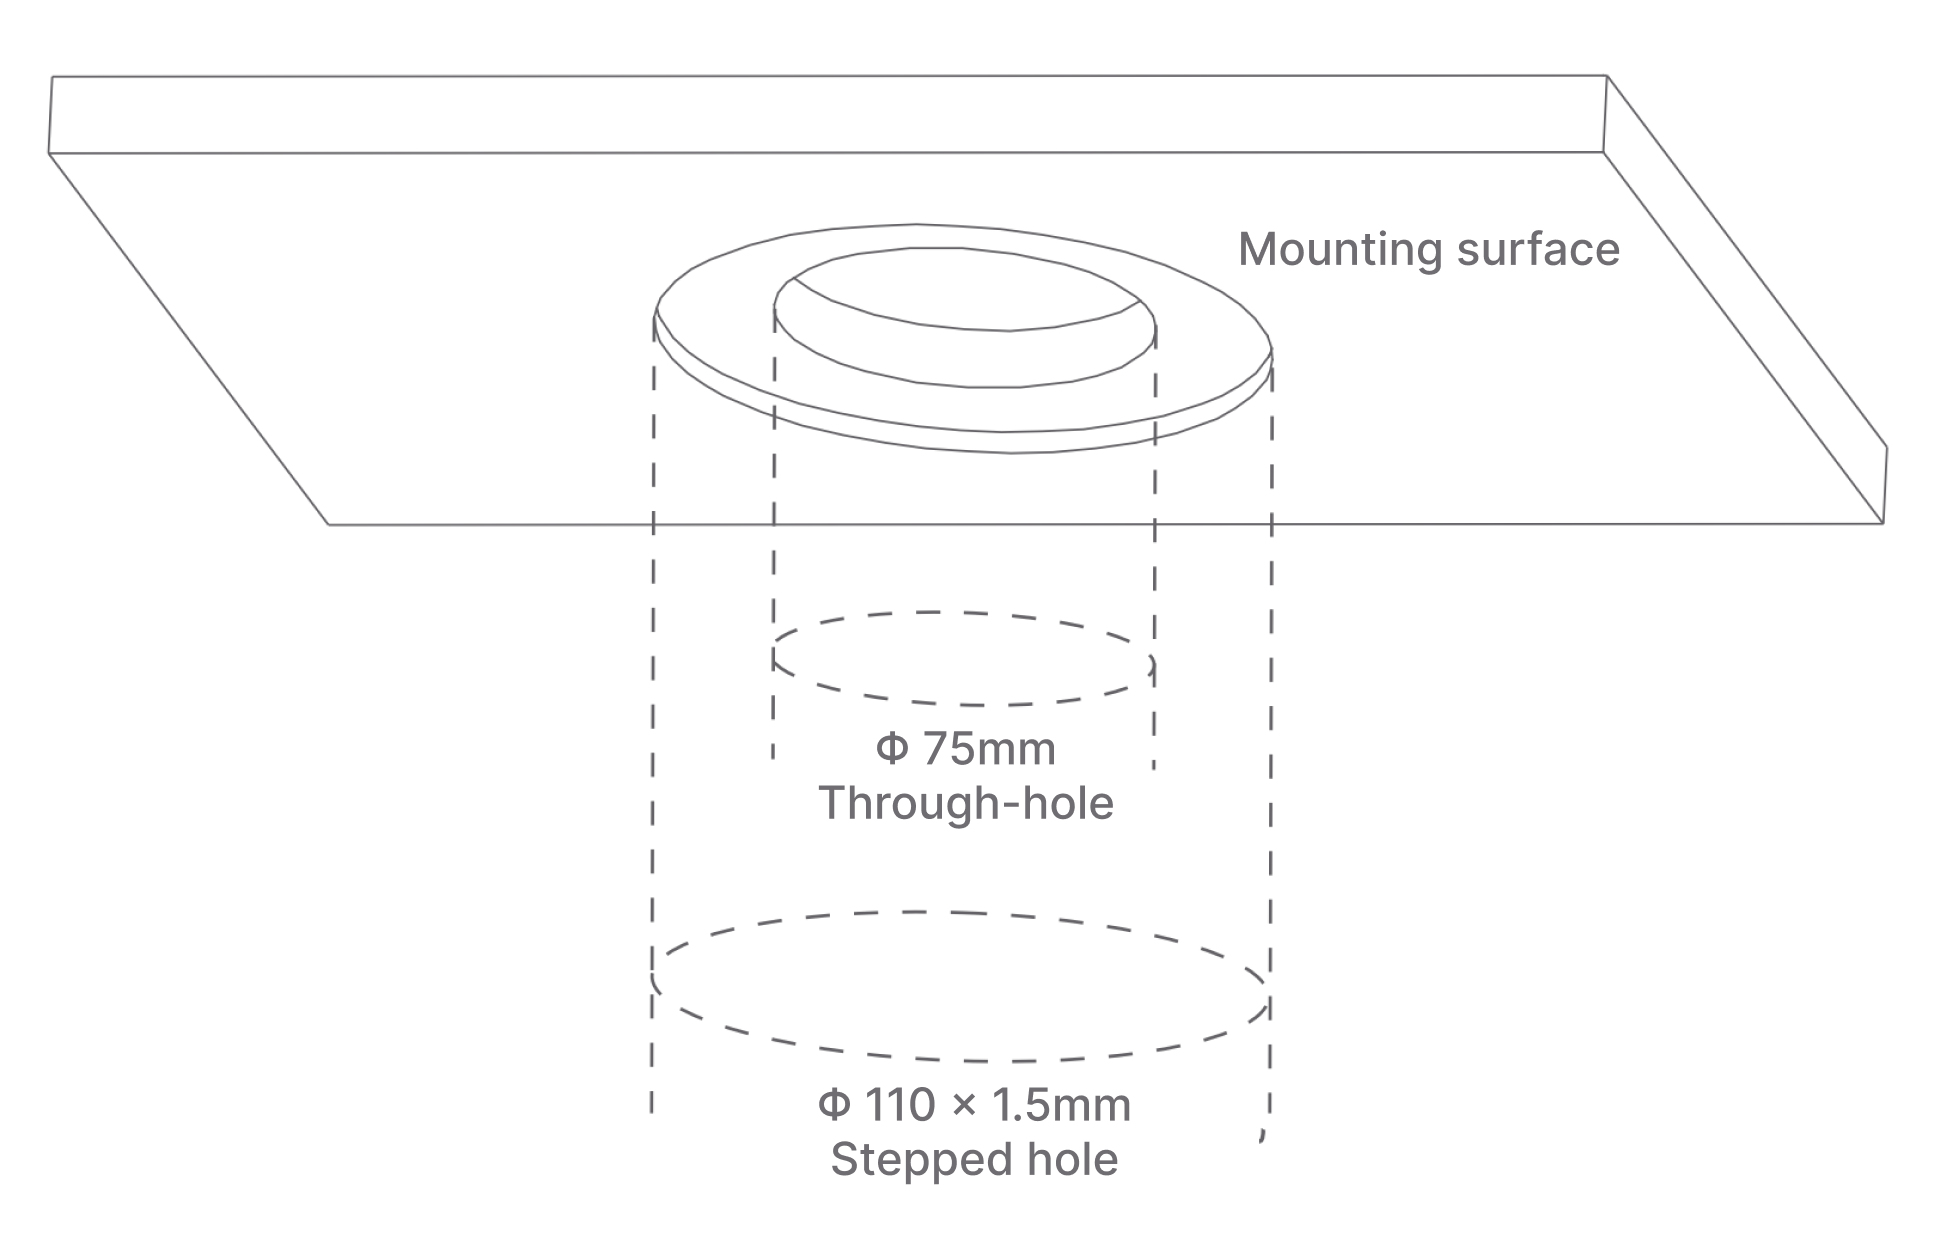
Cut Opening: Cut an opening in the mounting surface according to the selected model.
- For the 75mm Standard Model, cut a circular opening with 75mm diameter.
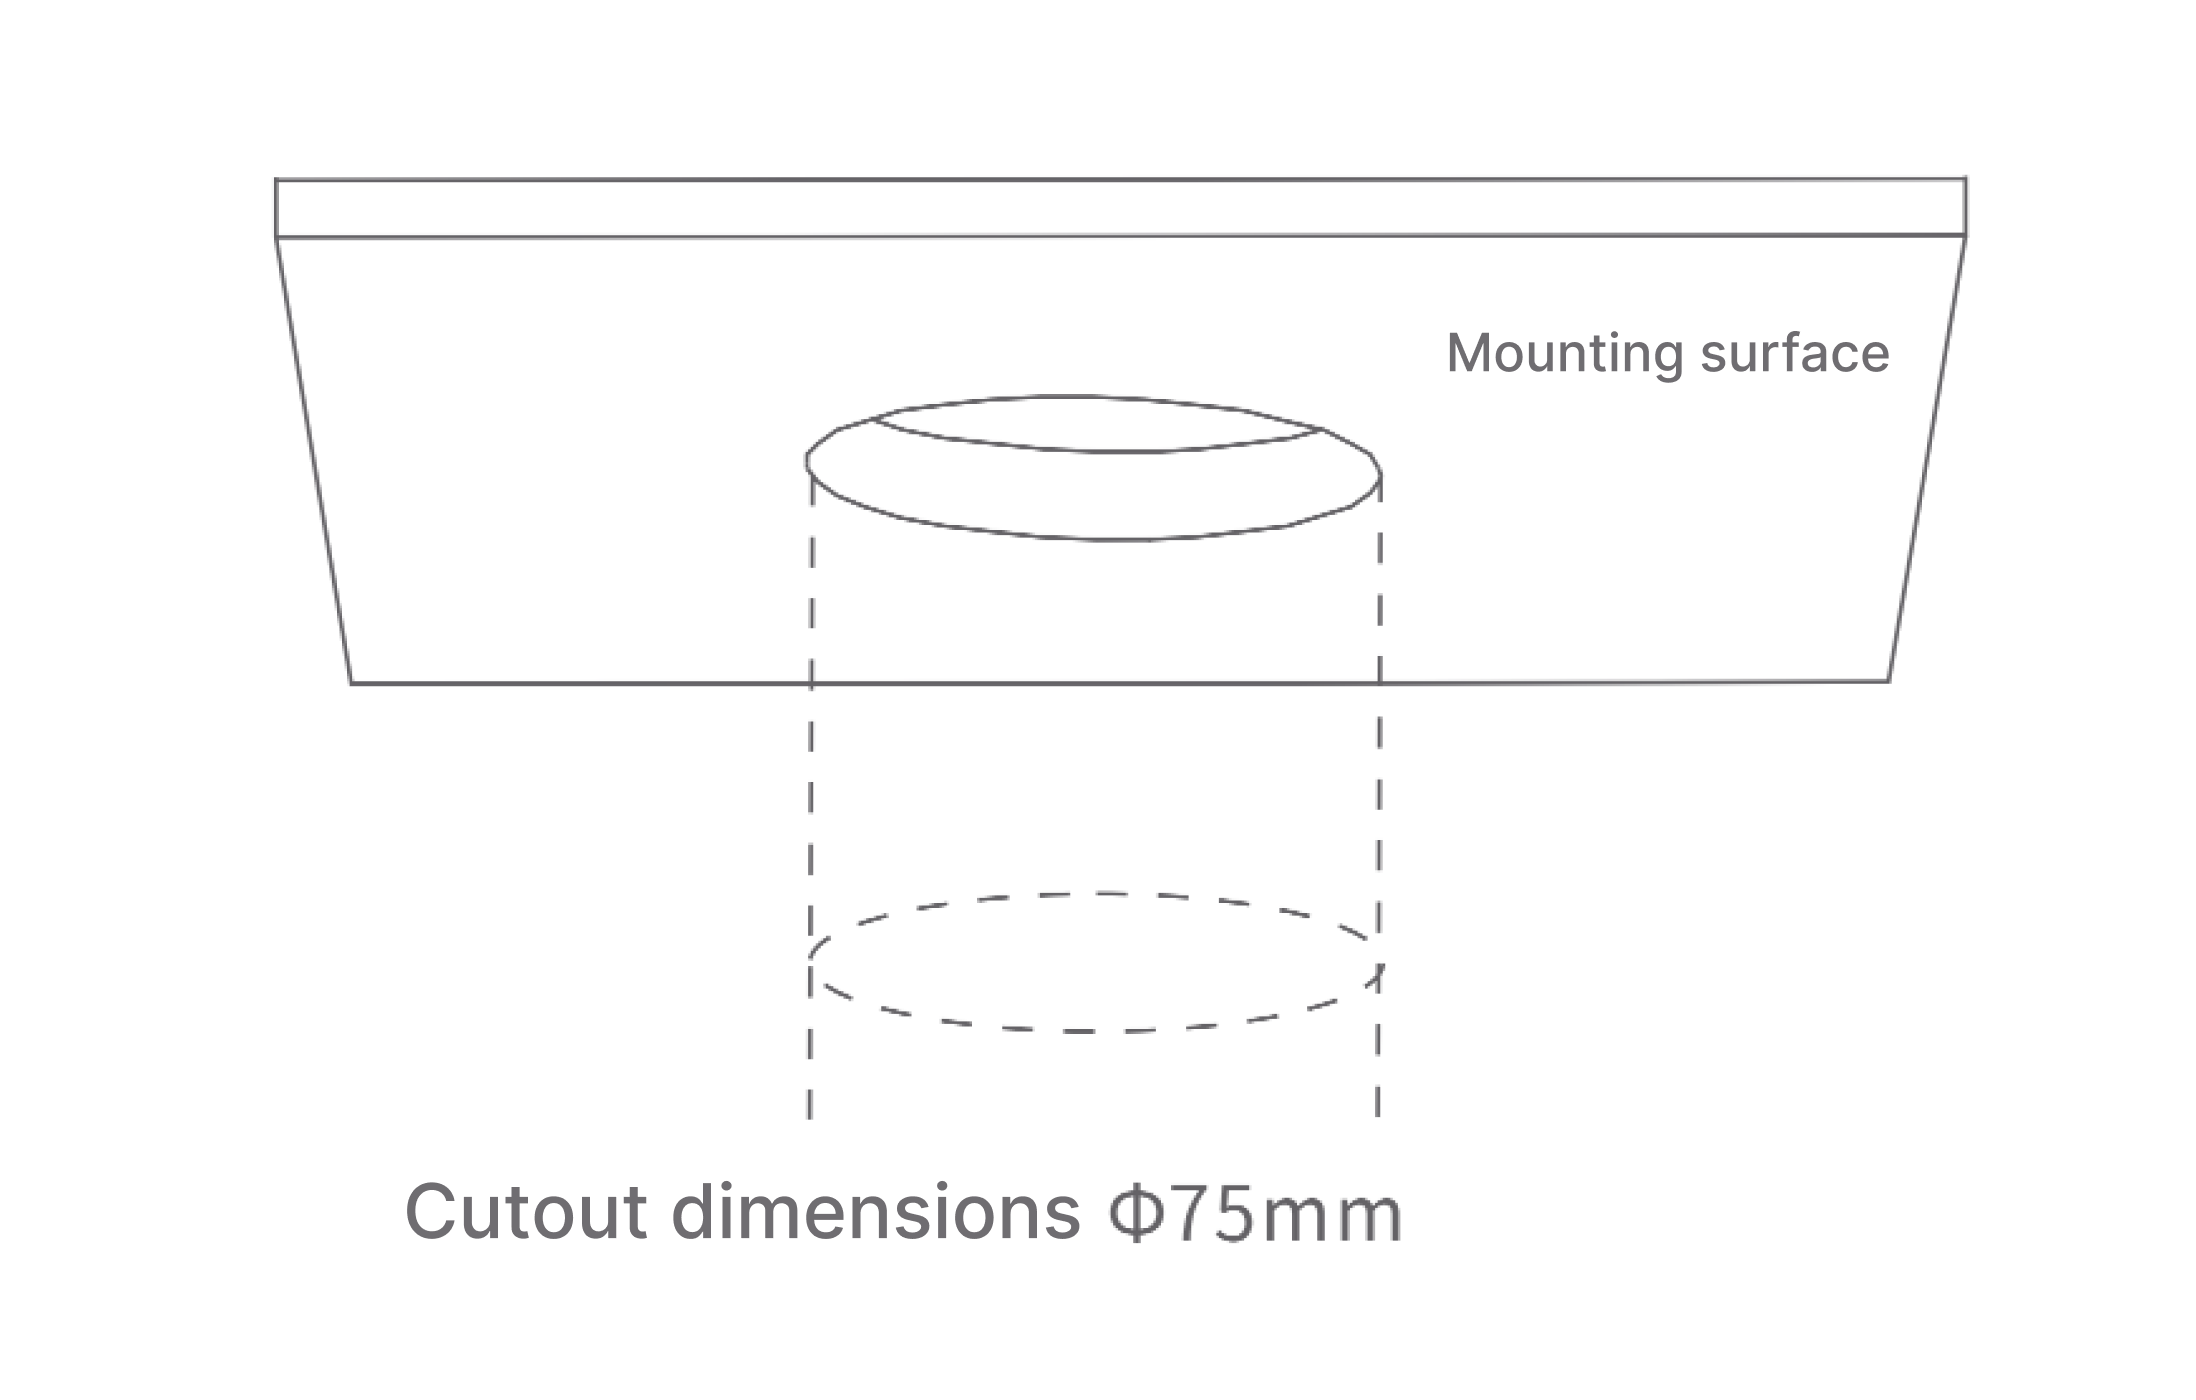
- For the 55mm Standard Model, cut a circular opening with 55mm diameter.
- For the Recessed Model, cut 1 x Ø75mm through hole and 1 x Ø110 x 1.5mm stepped hole.
- For the 75mm Standard Model, cut a circular opening with 75mm diameter.
-
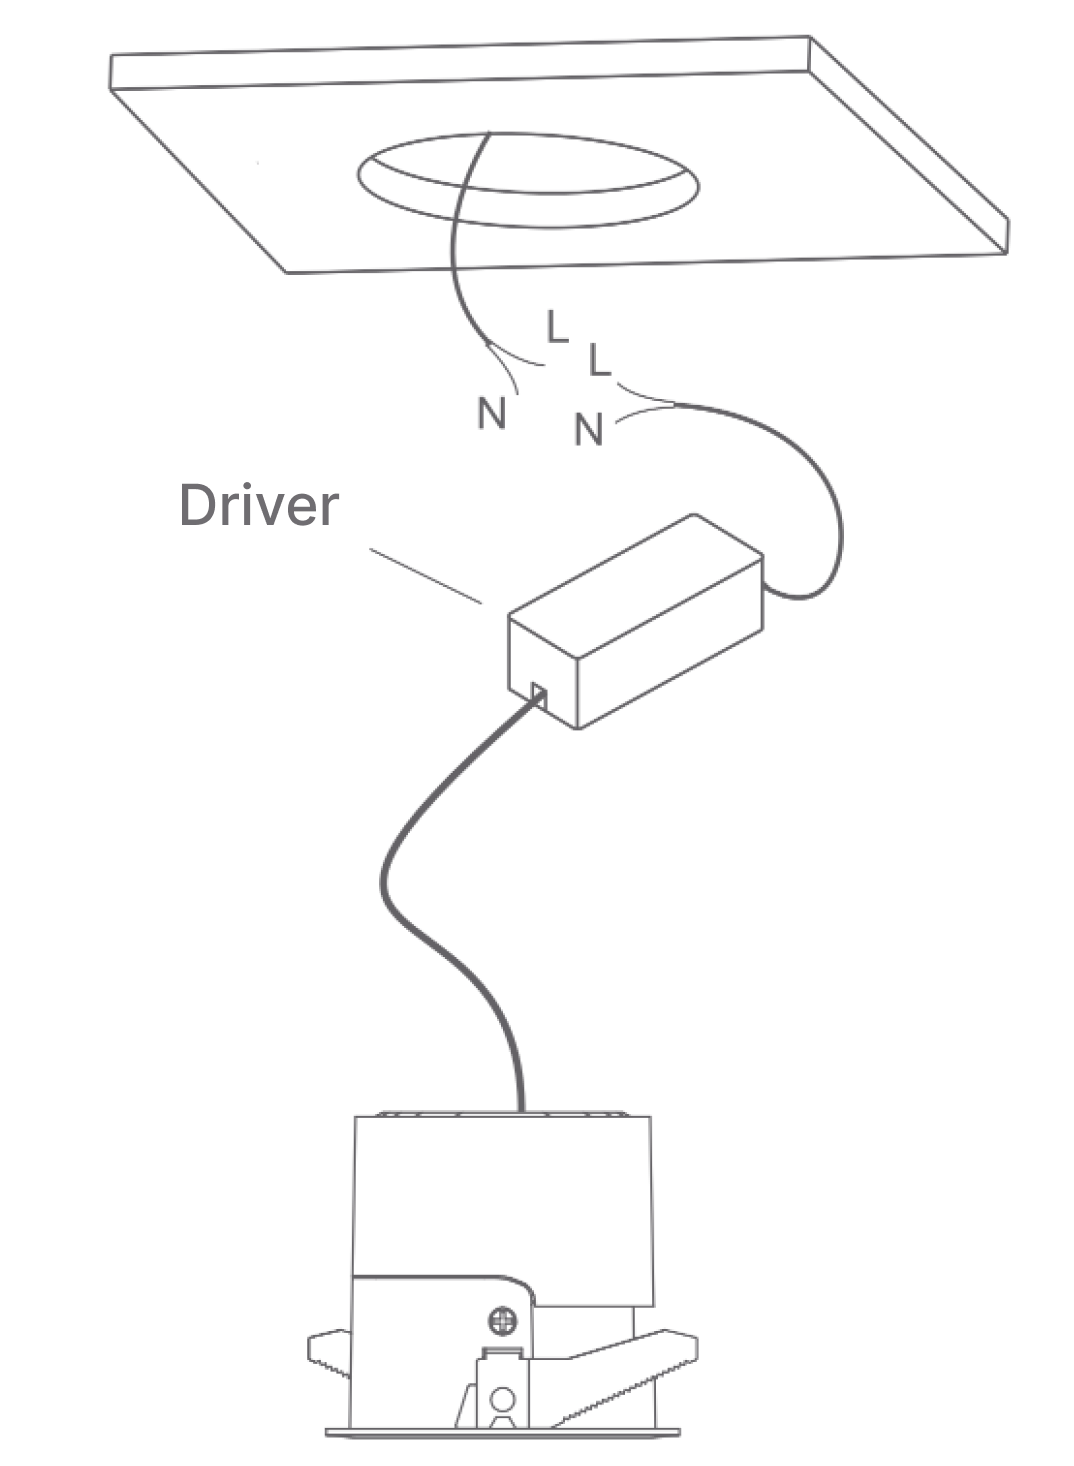
Electrical Connection & Insulation: Connect the neutral (N) and live (L) wires from the luminaire to the power supply, ensuring reliable insulation. Connect L/N to household AC power. Connection to fixed wiring requires spring terminals to prevent solder cold flow.
-
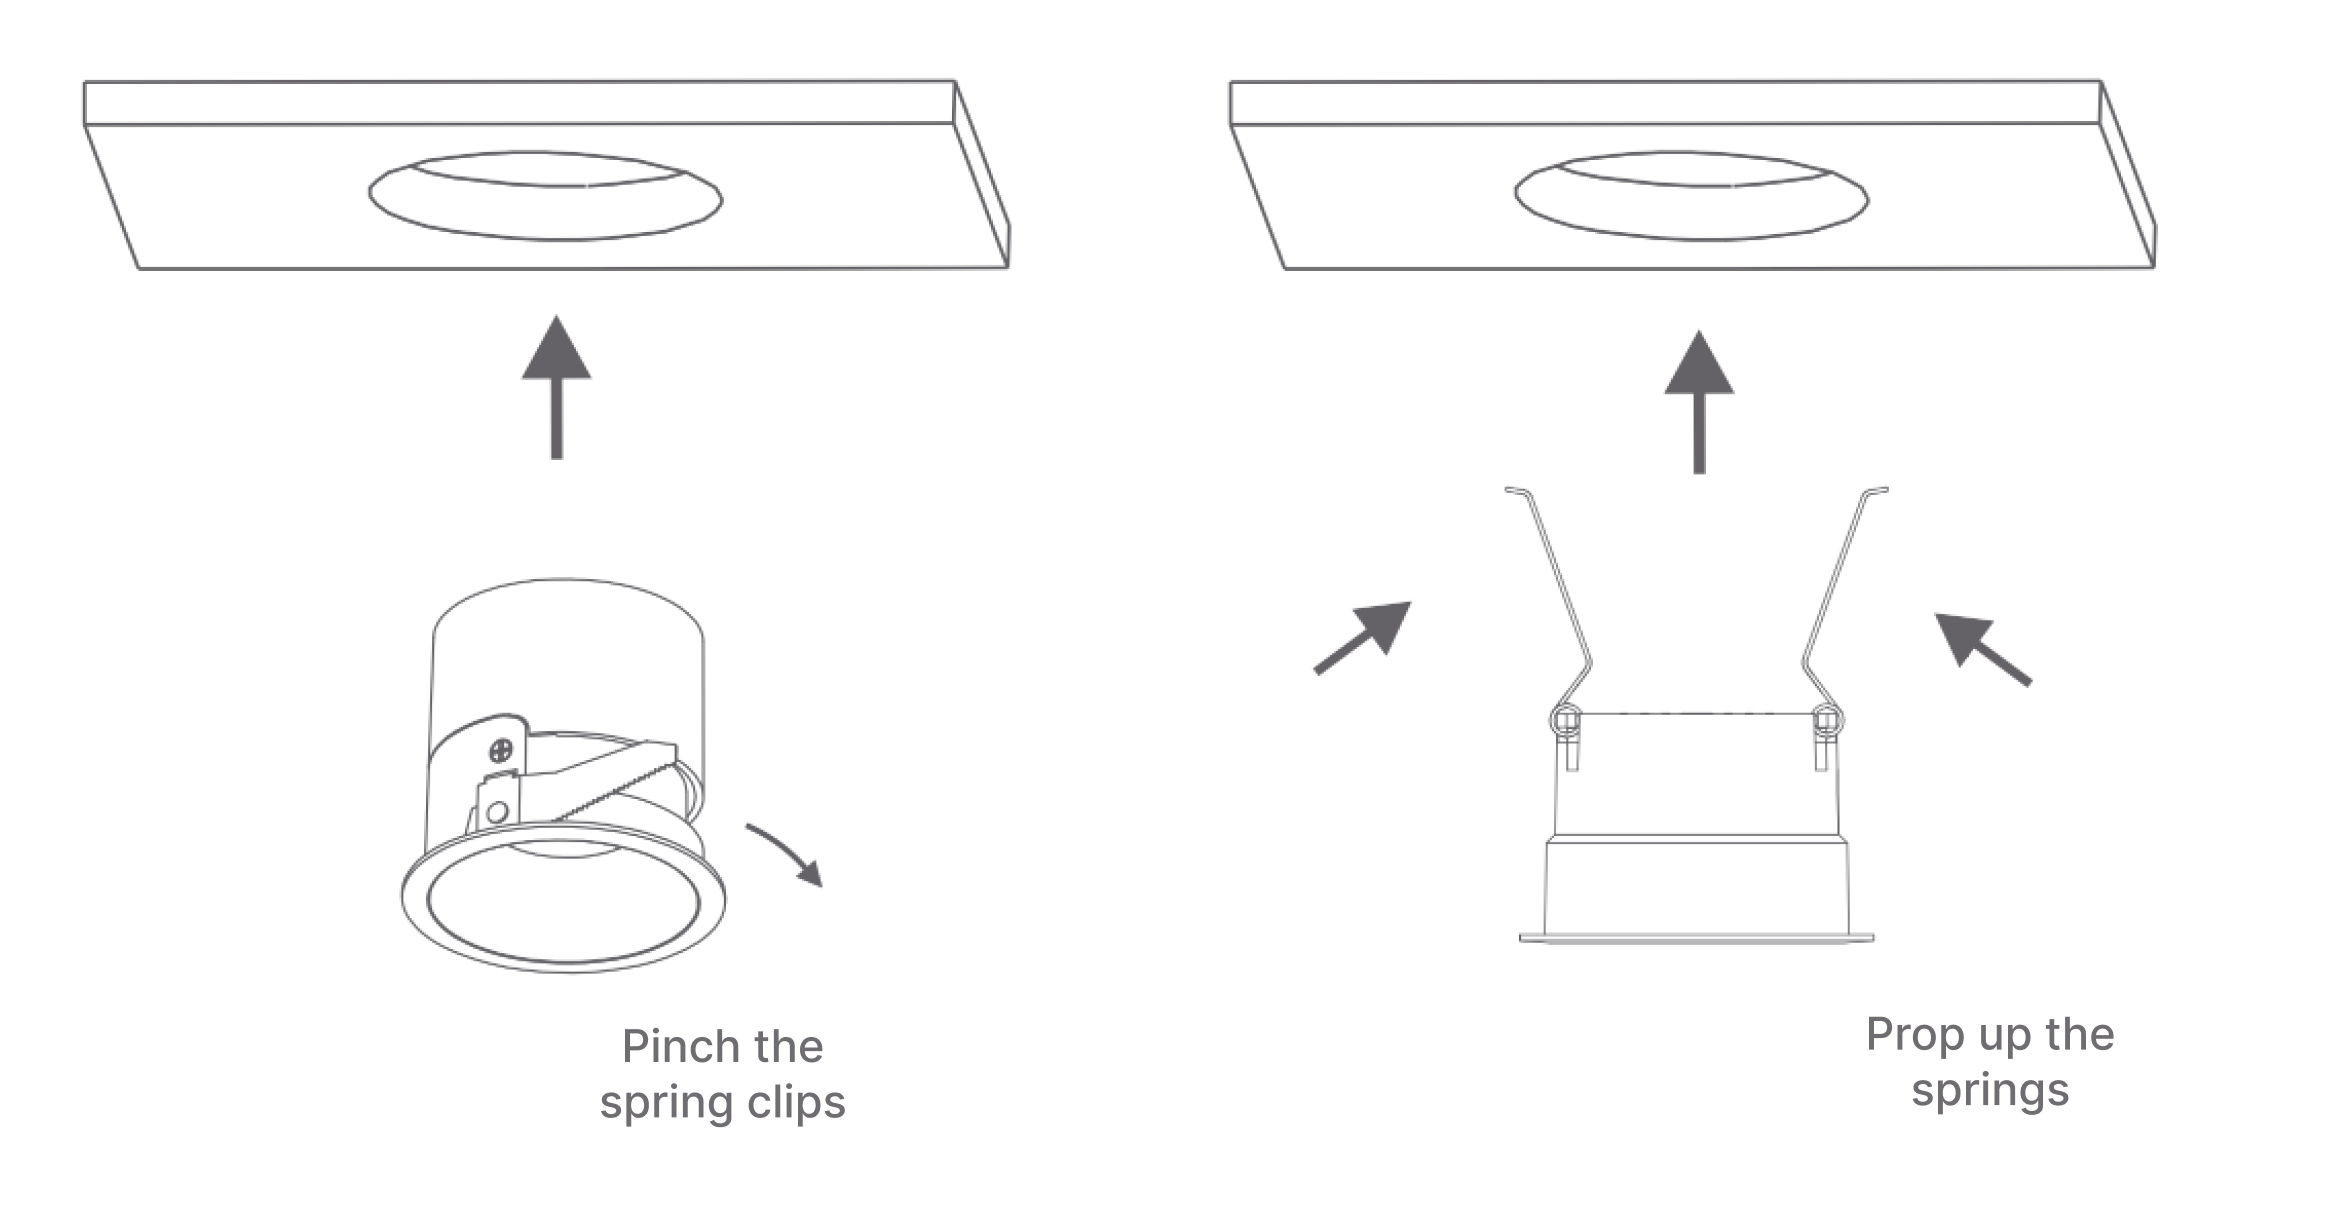
Insert Luminaire: Press the clips on both sides of the luminaire body and push the body into the mounting opening. Pay attention to the installation angle for spotlights.
-
Power-On Test: Switch on power and confirm that the luminaire operates normally.
Installation Distance Requirements
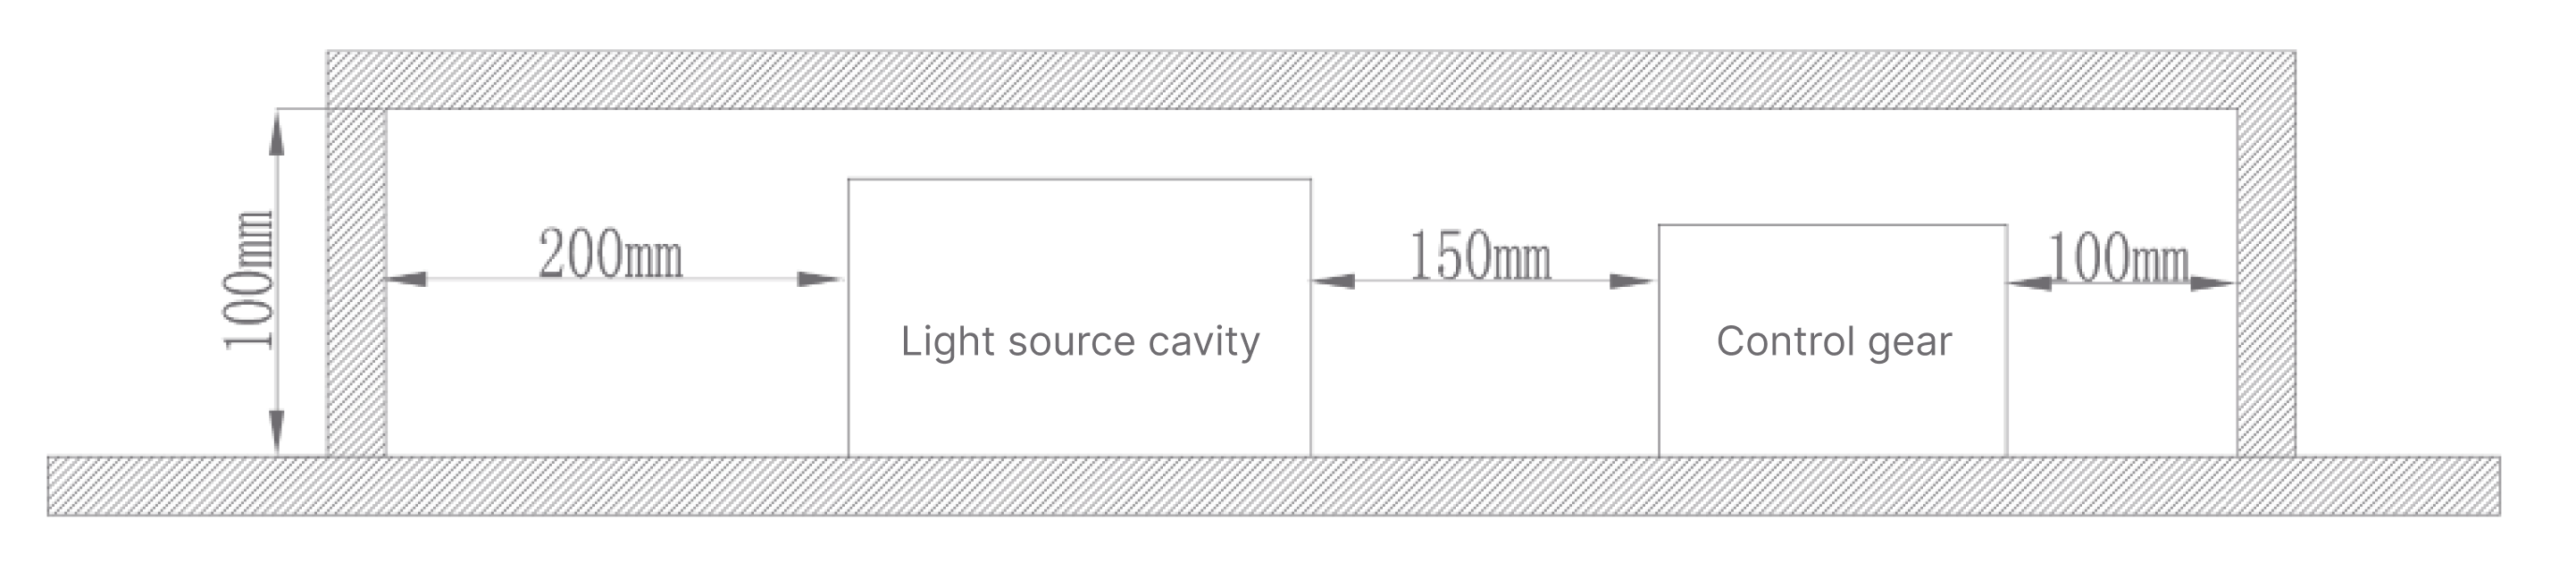
The luminaire must meet the minimum installation distance requirements shown below; otherwise, fire hazard or other risks may occur.
Usage Instructions
Device Pairing
The device defaults to Zigbee protocol for network pairing. When the device enters pairing mode, it can be added to Aqara Studio or Aqara Life App for use.
When the device is not paired to a network, it will automatically enter pairing mode upon powering on (the light breathes twice). The pairing window lasts for 60 seconds. If the pairing time expires, re-power the device to re-enter pairing mode.
Adding to Aqara Studio
Based on the current protocol used by the device, please refer to the corresponding documentation:
| Protocol | Documentation |
|---|---|
| Zigbee | Zigbee Device Integration Guide |
| Matter | Matter Device Integration Guide |
Adding to Aqara Life App
- Download the Aqara Life App (scan the QR code on the instruction manual, or search and download from Apple App Store / Google Play).
- Open the App, navigate to "Home", tap the "+" icon in the top-right corner to enter "Add Device" page, and follow the App prompts to complete adding.
Firmware Update
You can update the device firmware to the latest version in Aqara Studio or Aqara Life App before use.
If you integrate the device into a third-party ecosystem (such as Apple, Google, or Amazon) and cannot obtain the latest firmware, you can add the device in Aqara Life App and perform two "protocol switch" operations (e.g., switch Thread → Zigbee, then switch back to Thread) to pull the latest cloud firmware for upgrade.
Device Reset / Factory Restore
| Operation | Method | Description |
|---|---|---|
| Device Reset | Long press reset button on driver for 5+ seconds, OR cycle power on/off 5 times consecutively (last cycle ends with power ON) | Light breathes twice; reset successful. Device clears network pairing only and re-enters pairing status. |
| Factory Restore | Tap reset button on driver 10 times, OR cycle power on/off 10 times consecutively (last cycle ends with power ON) | Light breathes twice; factory restore successful. Device clears all configuration data and re-enters pairing status. |
| Protocol Switch | Remove device in Aqara Life App first, then long press reset button for 5 seconds to reset, enter pairing process, tap "Switch Protocol" on device pairing screen | Note: Protocol switching is equivalent to factory restore and will clear all device settings and data. |
Product Functions
Basic Dimming
| Function | Description |
|---|---|
| On/Off | Supports basic on and off functions |
| Brightness | Supports 1% - 100% brightness adjustment; dimming depth 0.01% |
| Color Temperature | Supports 2700K - 6000K color temperature adjustment |
Scene Functions
| Function | Description |
|---|---|
| Static Scenes | Save specific white light color temperature and brightness combinations as custom scenes for one-tap recall; supports copy, edit, delete |
| Dynamic Sequences | Supports multi-keyframe settings; customize keyframe color temperature, brightness, transition duration, hold time, and loop mode to generate flowing white light effect sequences |
Configuration Options
| Configuration Item | Description |
|---|---|
| Communication Protocol | Zigbee / Thread |
| Power-On Behavior | Four modes available: Power Failure Memory (Default): Restores state prior to power loss upon re-powering Power ON after Restore: Energizes relay upon re-powering Power OFF after Restore: De-energizes relay upon re-powering Toggle State: Opposite to state prior to power loss |
| On/Off Transition Time | Default: 1500ms; range: 0–10s |
| Transition Curve Configuration | Light transitions to target state using configured curve effect. Adjustment methods: Curve drag: curvature updates in real-time after adjustment Custom value: range 0.2 |
| Initial Brightness Configuration | Supports 1–50% range adjustment; default 1%, step 1%. After configuring initial brightness, the light will transition from the configured value to the final state when turned on (if brightness at last turn-off was lower than configured initial brightness, the light turns on directly at last-off brightness without transition) |
| Dimming Range Configuration | Tap to set maximum and minimum brightness; after configuration, the 1–100% brightness range on device home page and automation components maps to the configured min/max illuminance range |
| Find Device | Upon tapping, device flashes or emits long beep |
Button Operation
| Operation Method | Function Description |
|---|---|
| Single-click reset button | Toggle On/Off |
| Long press reset button for 5s | Reset device network, clear network pairing, re-enter pairing status |
| 10 taps on reset button | Factory restore, clear all configuration data, re-enter pairing status |
Indicator Description
| Indicator Status | Function Description |
|---|---|
| Light breathing indication | Device entered pairing mode / reset successful (actual behavior subject to physical unit) |
Maintenance
- Regularly wipe the product surface with a dry soft cloth to prevent dust accumulation affecting performance;
- Do not use chemical solvents to clean the product;
- When not in use for extended periods, store in a dry environment with power disconnected.
Supported Gateway Information
This product must be used with an Aqara Gateway for full functionality support. This product is a Zigbee protocol sub-device; please use an Aqara Gateway updated to the latest version.
| Parameter | Description |
|---|---|
| Aqara Gateway Support | GX300M AX100M GX100M M300 M200 AXI00S GR100S |
Automation Information
Supported Automation Triggers/Actions
| Condition Type | Supported Automation Conditions |
|---|---|
| Automation Condition | Turn On |
| Turn Off | |
| Is On | |
| Is Off | |
| Automation Action | Turn On |
| Turn Off | |
| Toggle On/Off | |
| Set Brightness | |
| Set Brightness (without toggle) | |
| Set Color Temperature | |
| Set Color Temperature & Brightness | |
| Brightness + | |
| Brightness - | |
| Color Temp + | |
| Color Temp - | |
| Adjust Color Temperature (knob rotation or Cube flip only) | |
| Adjust Brightness (knob rotation or Cube flip only) | |
| Set to Specific Scene |
Troubleshooting Guide
Issue 1: Device Cannot Join Network
| Possible Cause | Solution |
|---|---|
|
|
Issue 2: Device Cannot Pair / Connect
| Possible Cause | Solution |
|---|---|
|
|
Issue 3: Luminaire Not Lighting / Abnormal Light Color
| Possible Cause | Solution |
|---|---|
|
|
FAQ
What specifications are available in the Spotlight T2 Pro Series?
The T2 Pro Series includes 13 SKUs across three installation forms: 75mm narrow-frame standard models (12W, spotlights at 15°/24°/36° + downlights at 60°, black/white optional), 75mm frameless flush-mount models (12W, spotlights at 24°/36°/55°), and 55mm framed standard models (8W, spotlights at 24°/36°/55°, black only). Accessories include matte white reflectors and flush-mount trim rings.
What are the differences between T2 Pro and the previous T2? Can they be mixed?
T2 Pro features upgrades across multiple aspects: module (MG21 → MG24), LED chips (Toyoda Ra90 → Toyoda Full-Spectrum Ra96+), power (10W → 12W), reset method (added physical button), and now supports Bluetooth Low Energy. The previous T2 model will be discontinued upon T2 Pro launch. Due to differences in power and CRI, there are variations in light color and brightness between T2 Pro and T2; mixing them in the same space is not recommended.
How to enter pairing mode?
When the device is in unpaired state, it will automatically enter pairing mode upon powering on — no need to cycle power for reset. If adding fails, move the gateway closer to this product, power on, and try again.
How to verify effective communication distance between device and gateway?
Use the power switch to cycle the driver power on/off 3 times consecutively. If the gateway emits a prompt tone, it indicates effective communication between the device and gateway.
How to reset the device?
Two methods are supported: cycle power on/off 5 times consecutively (last cycle ends with power ON), or long press the reset button on the driver. After successful reset, the device clears network pairing only and re-enters pairing status. (Refer to instruction manual for specific button operations.)
Does the device support power failure memory function?
Yes. The device defaults to "restore state at power loss". Users can configure the power-on behavior in the App settings to: light ON after power restore, light OFF after power restore, or toggle (opposite to state prior to power loss).