UDP
This guide will show you how to integrate UDP protocol devices into Aqara Studio by writing JS scripts, and how to map device function points according to the Aqara Data Model Specification, enabling device discovery, addition, and control of function points.
Learn and Write JavaScript Scripts
Please refer to the JavaScript script (for UDP and TCP) guide to write a JavaScript script that complies with the Aqara Data Model Specification. This script instructs Aqara Studio how to discover devices, and add and control function points.
Add UDP Devices
-
In the left sidebar, click to enter the Devices page. In the left Protocols and Devices panel, click the ... button and select Add Protocol.

-
In the popup, select
UDPto add a UDP node.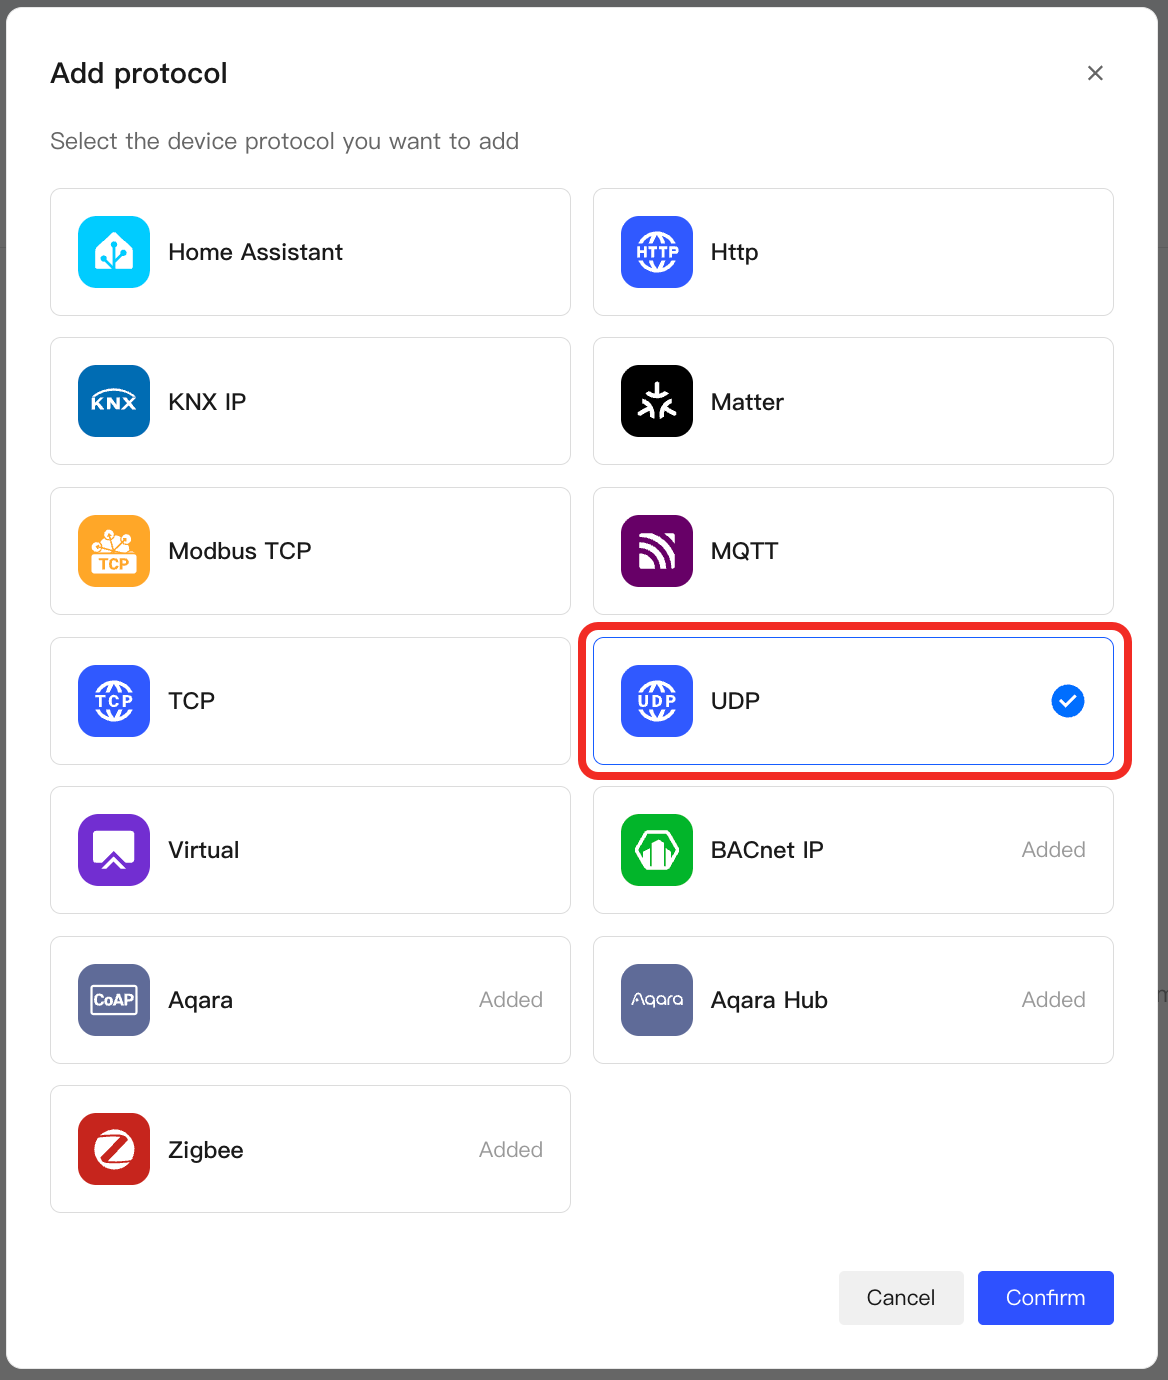
-
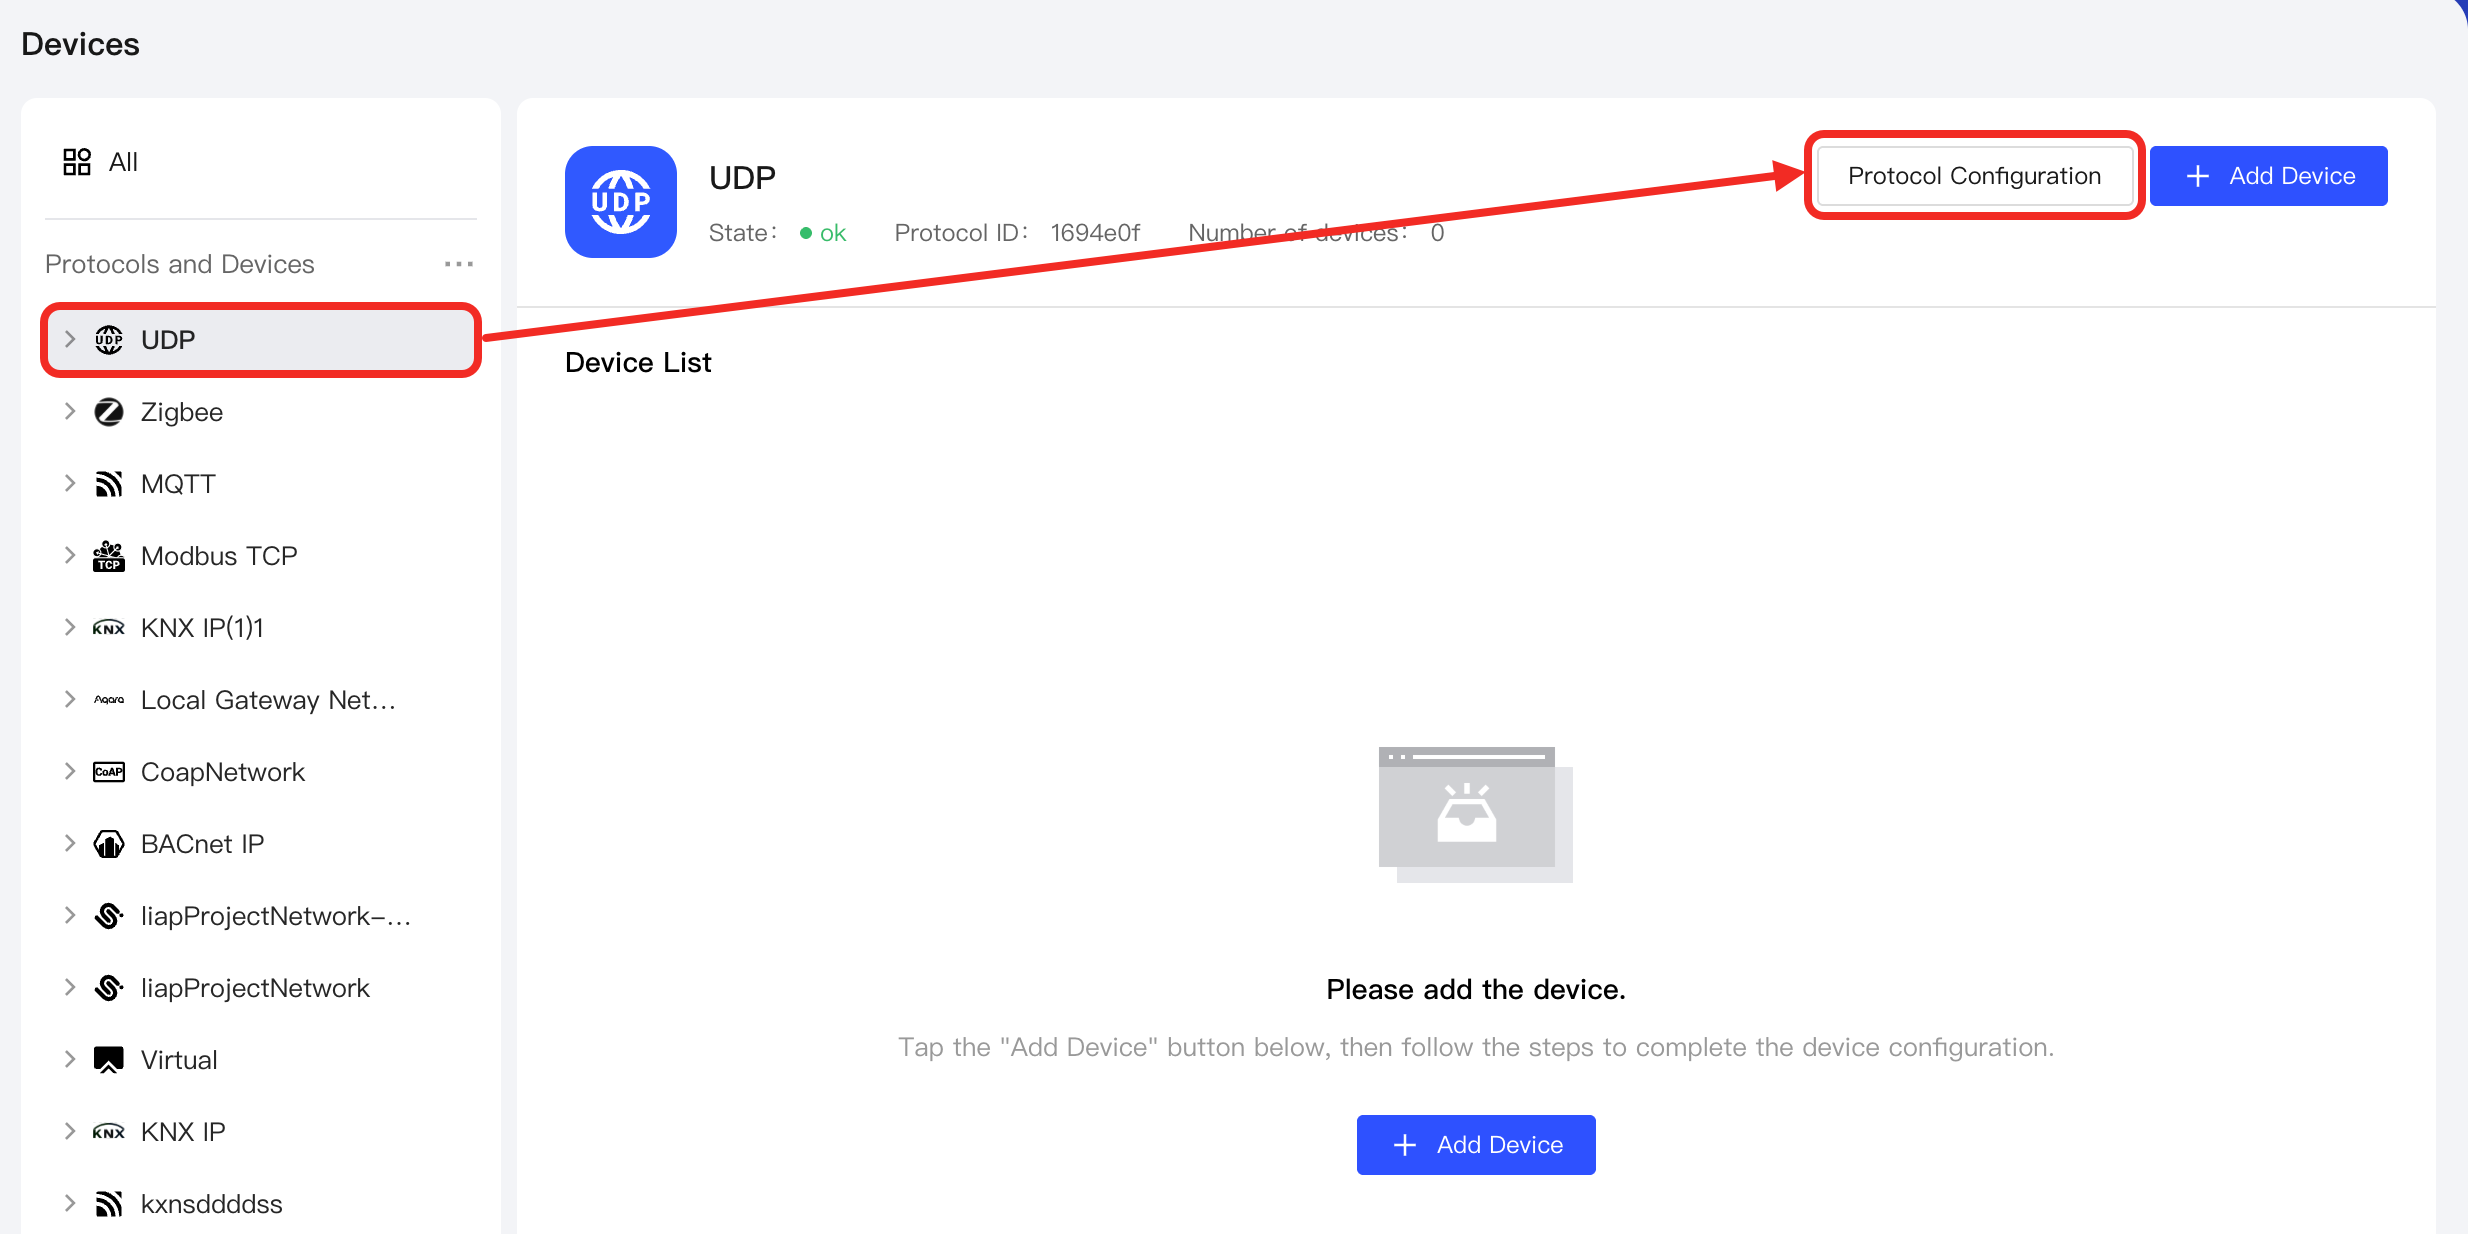
Select the node to enter the management page. Click the Protocol Configuration button.
-
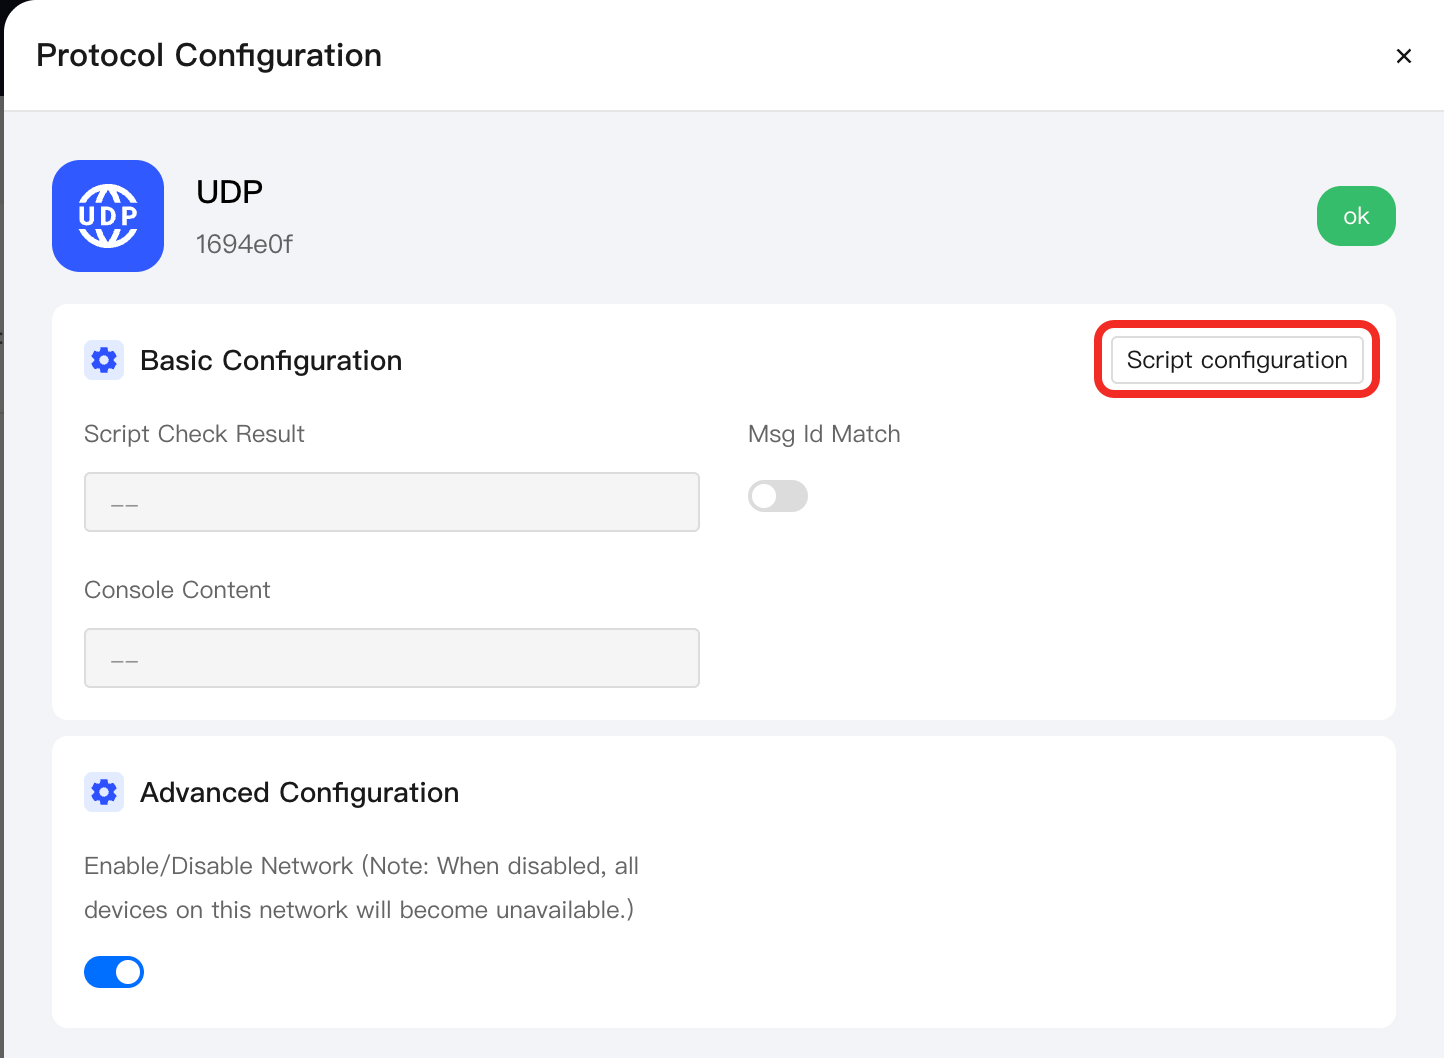
In the popup, click the Script Configuration button.
-
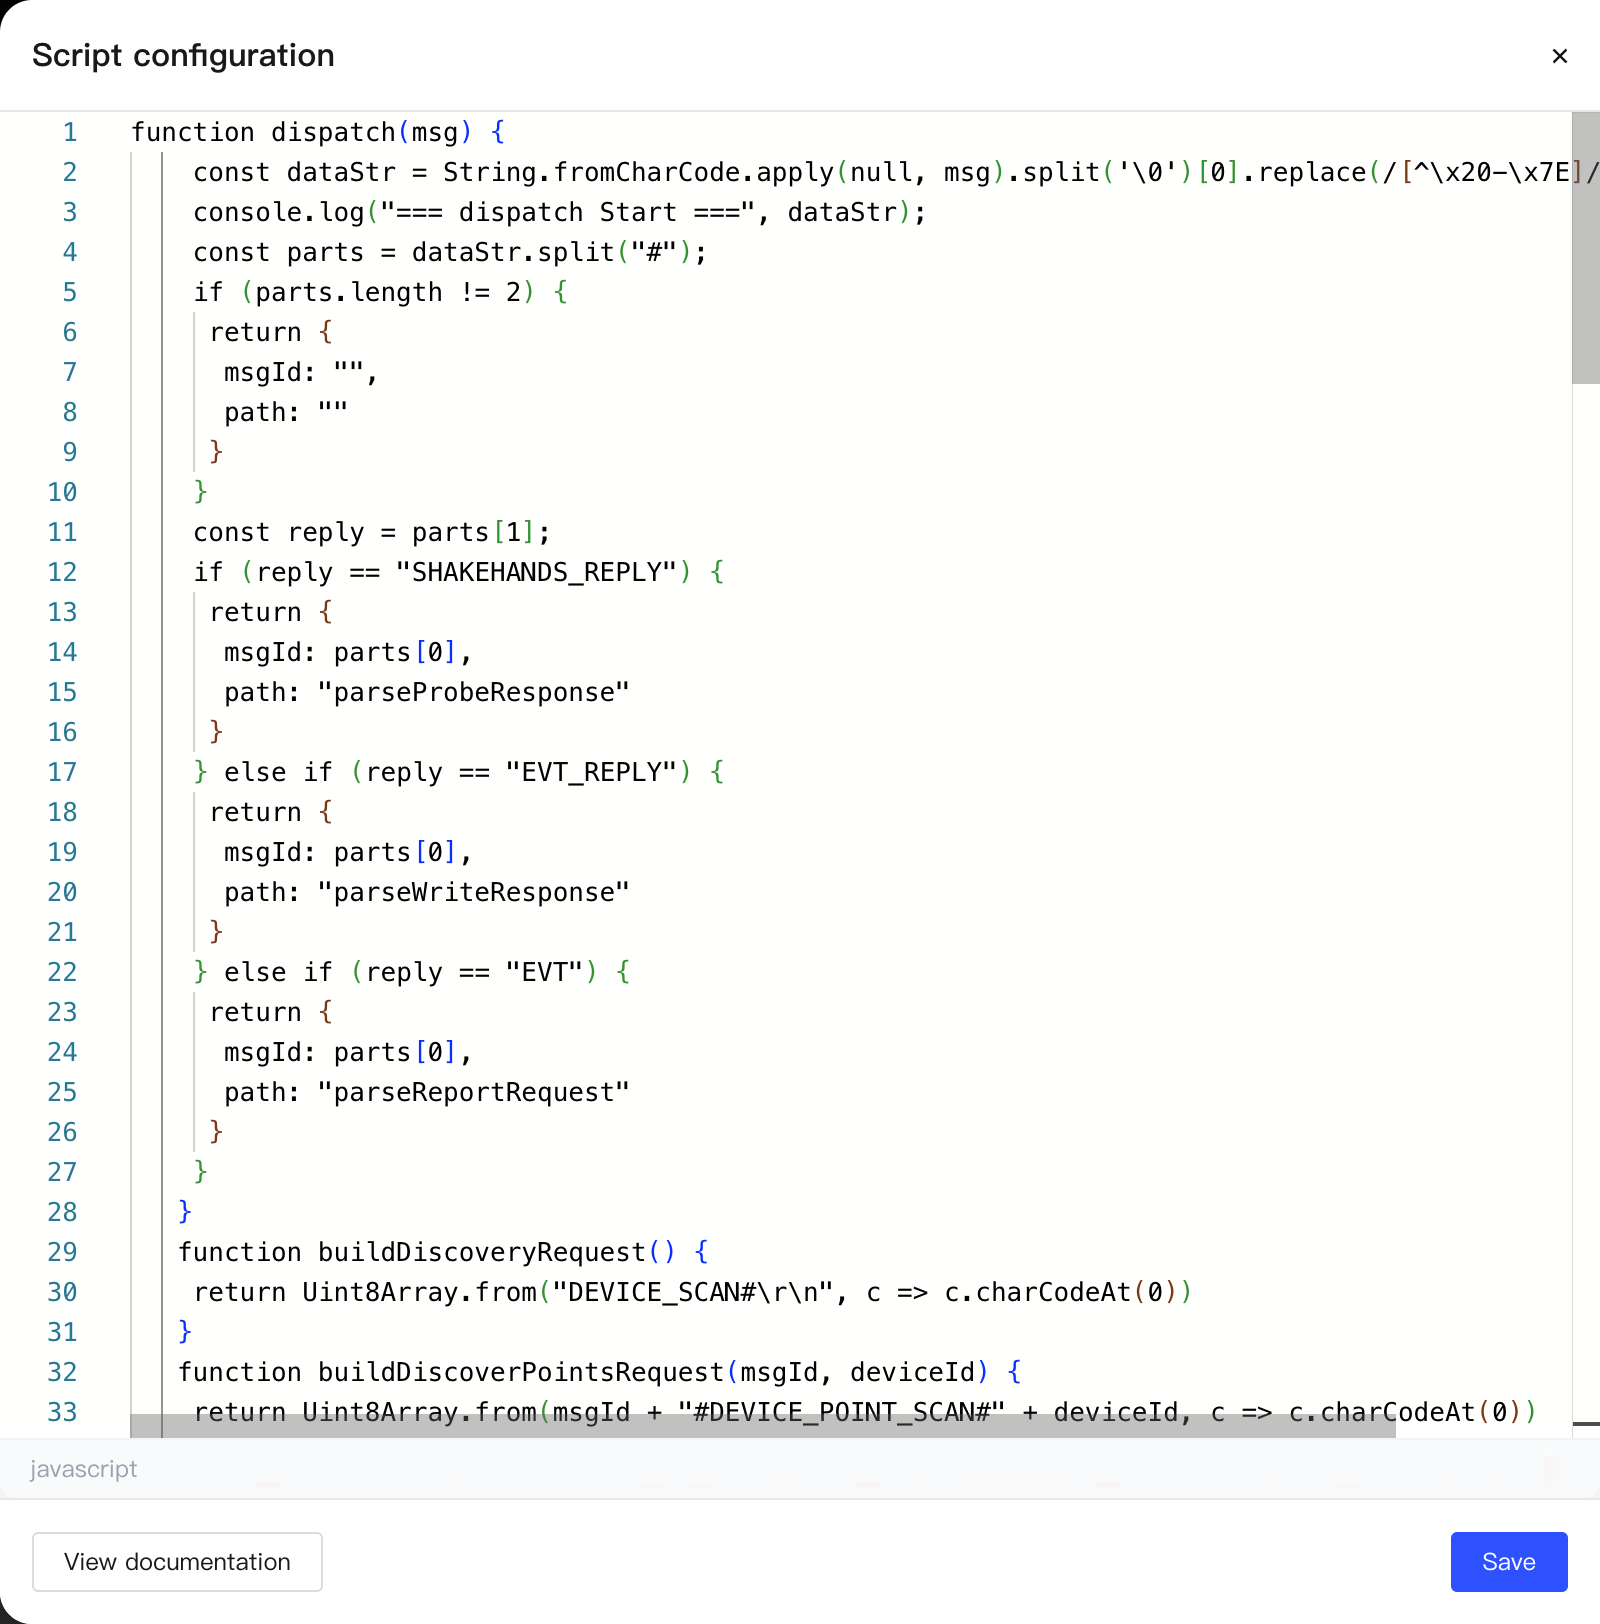
Paste the JavaScript script you wrote into the code editor, ensuring that the UDP device and its function points can be correctly recognized and managed by Aqara Studio.
-
(Optional) If you want to use
msgIdto match sent messages with received messages, enable theMatch by msgIdswitch. If it is not enabled, messages are processed in order.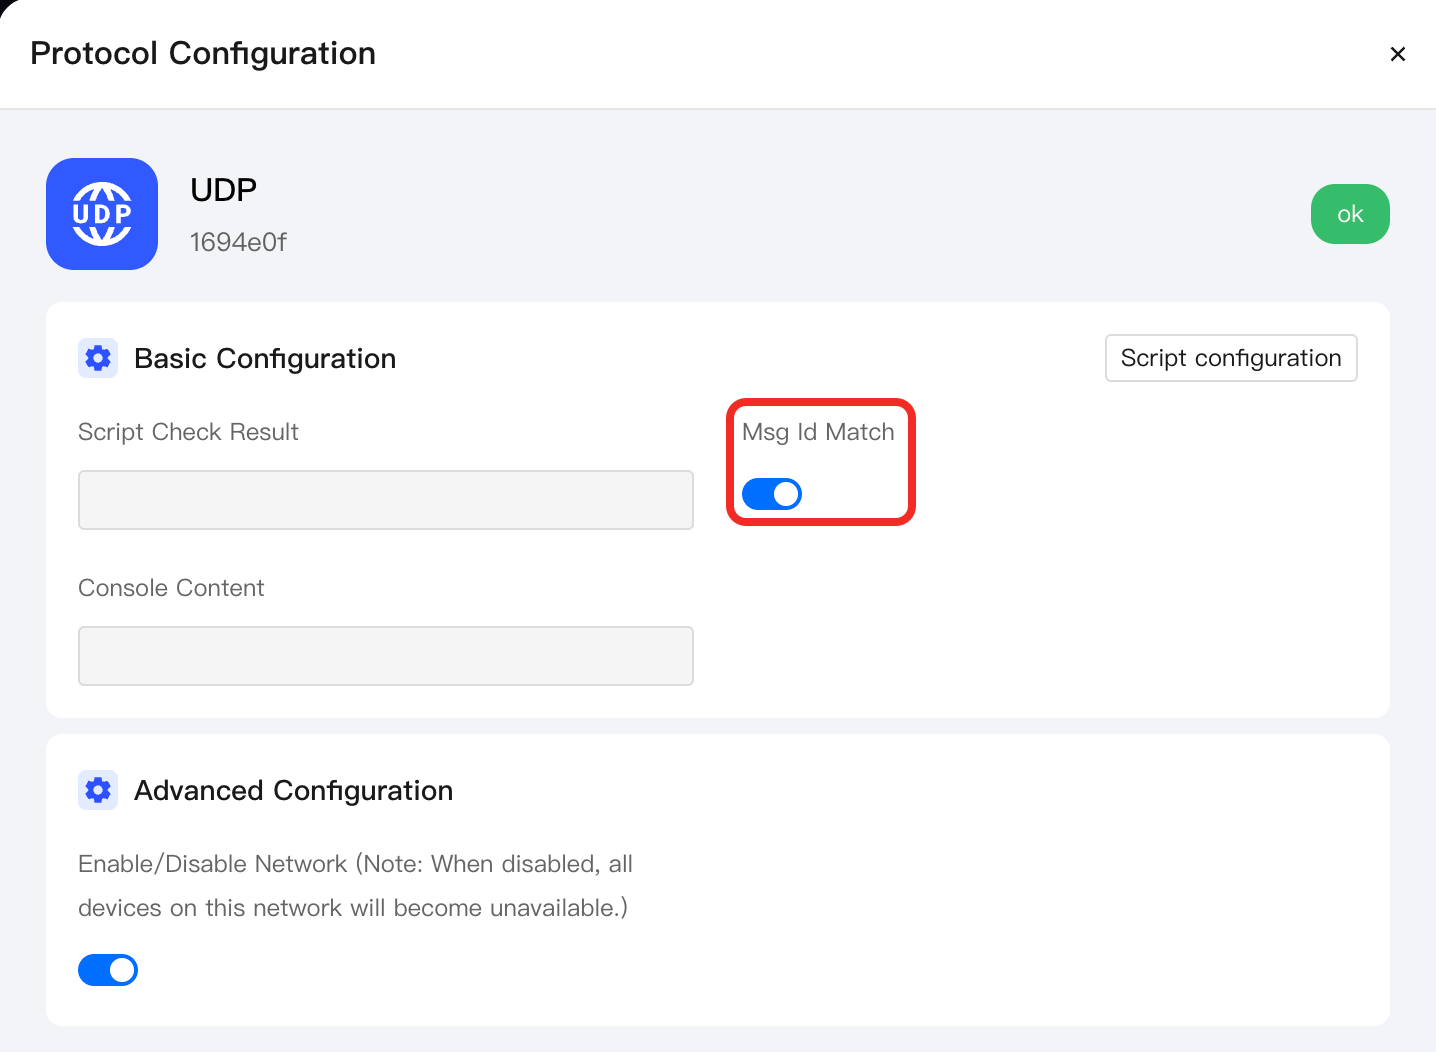
-
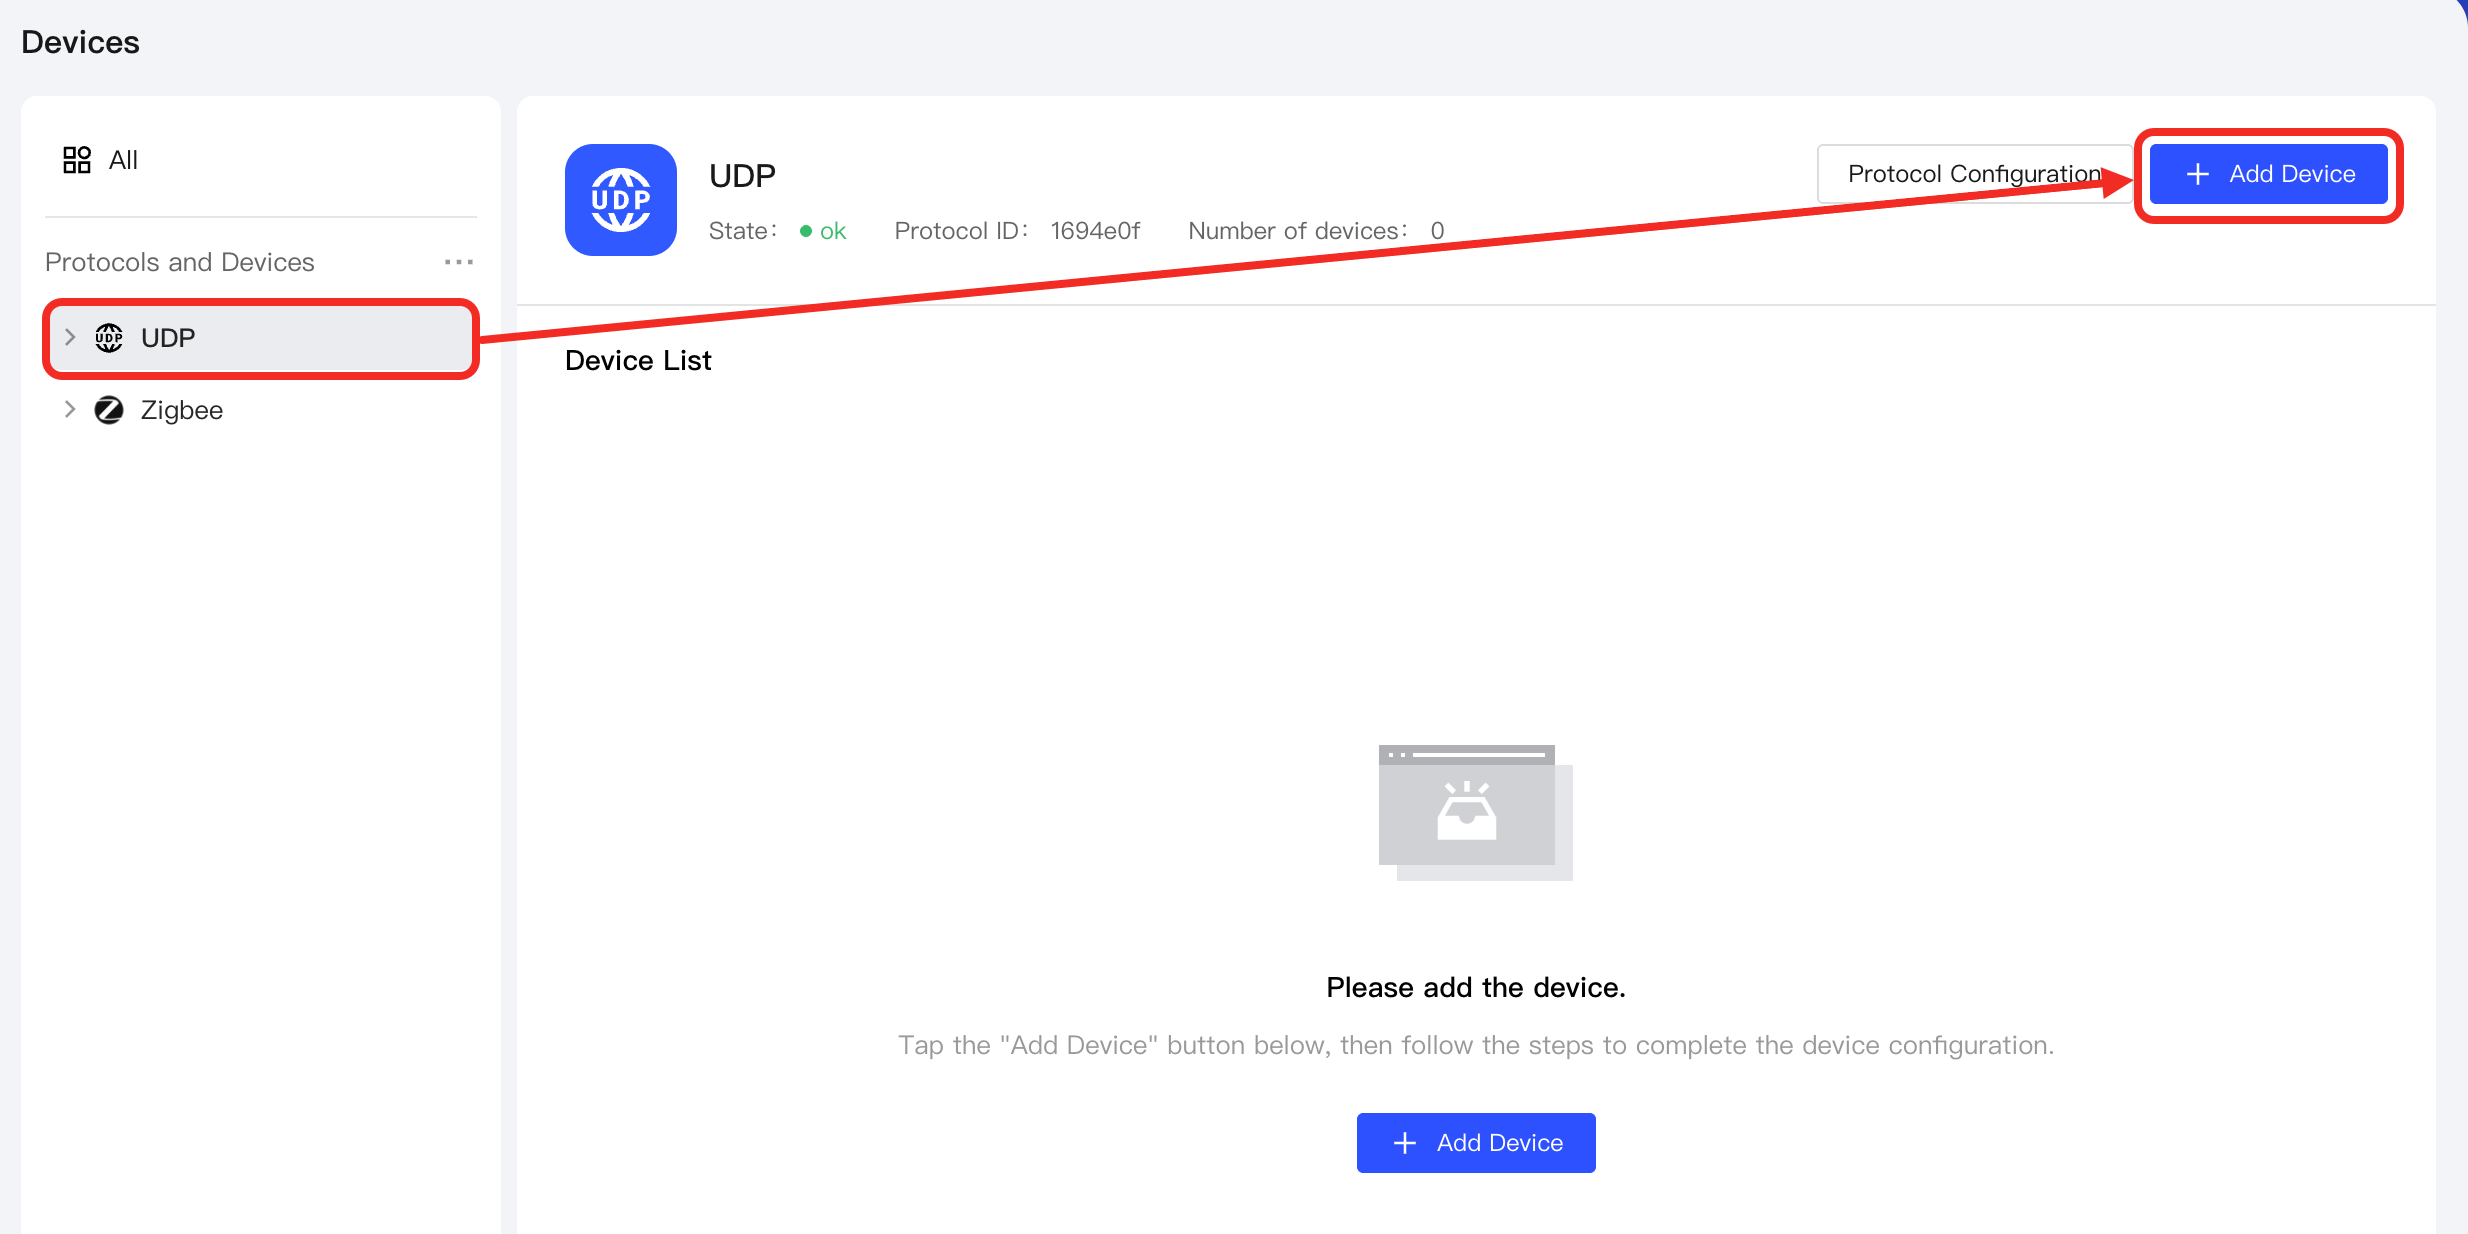
Return to the UDP management page and click the Add Device button.
-
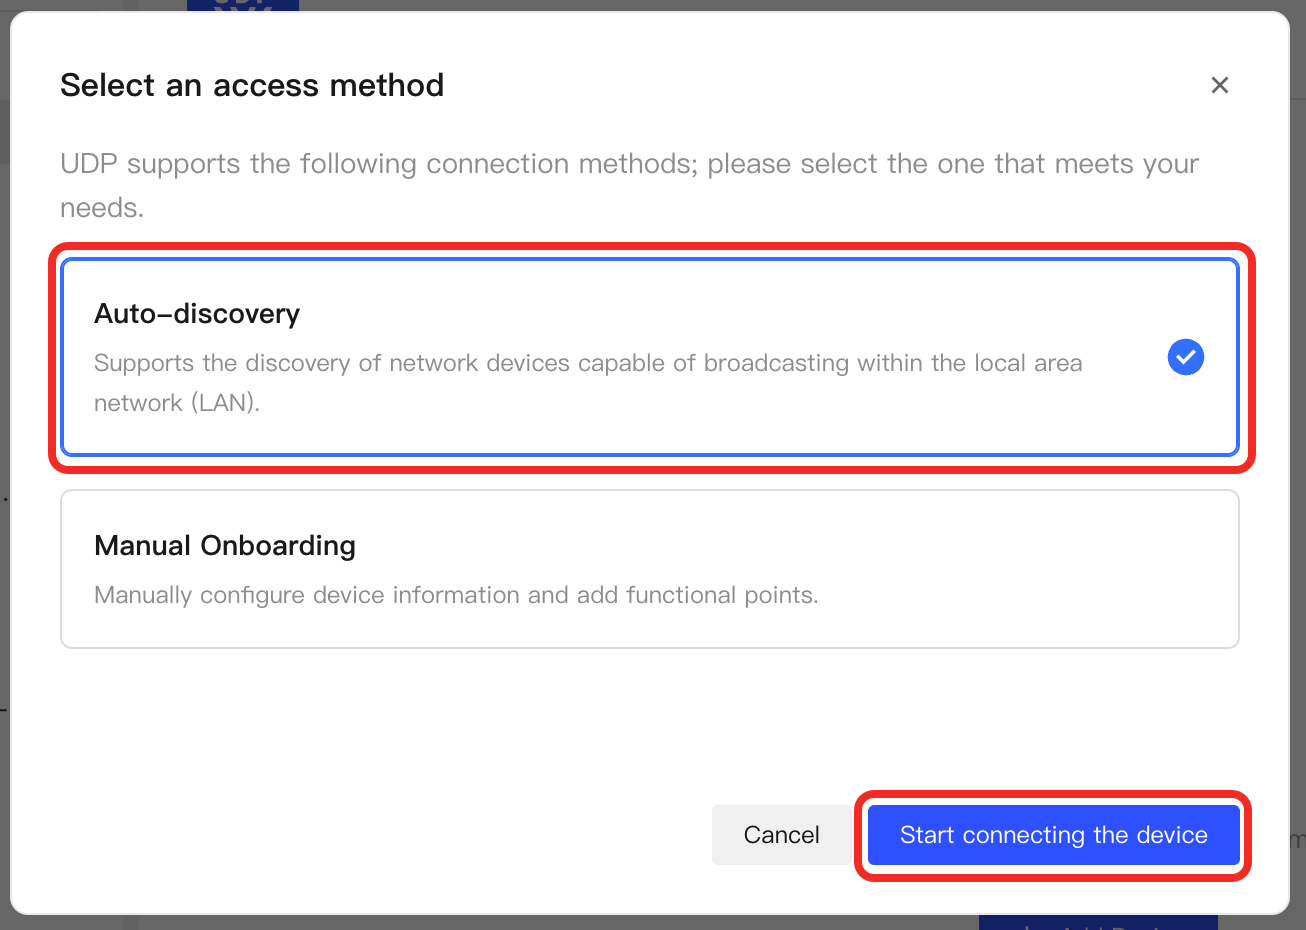
In the popup, select Auto Discovery as the integration method, then select Start Integrating Device to proceed to the next step.
-
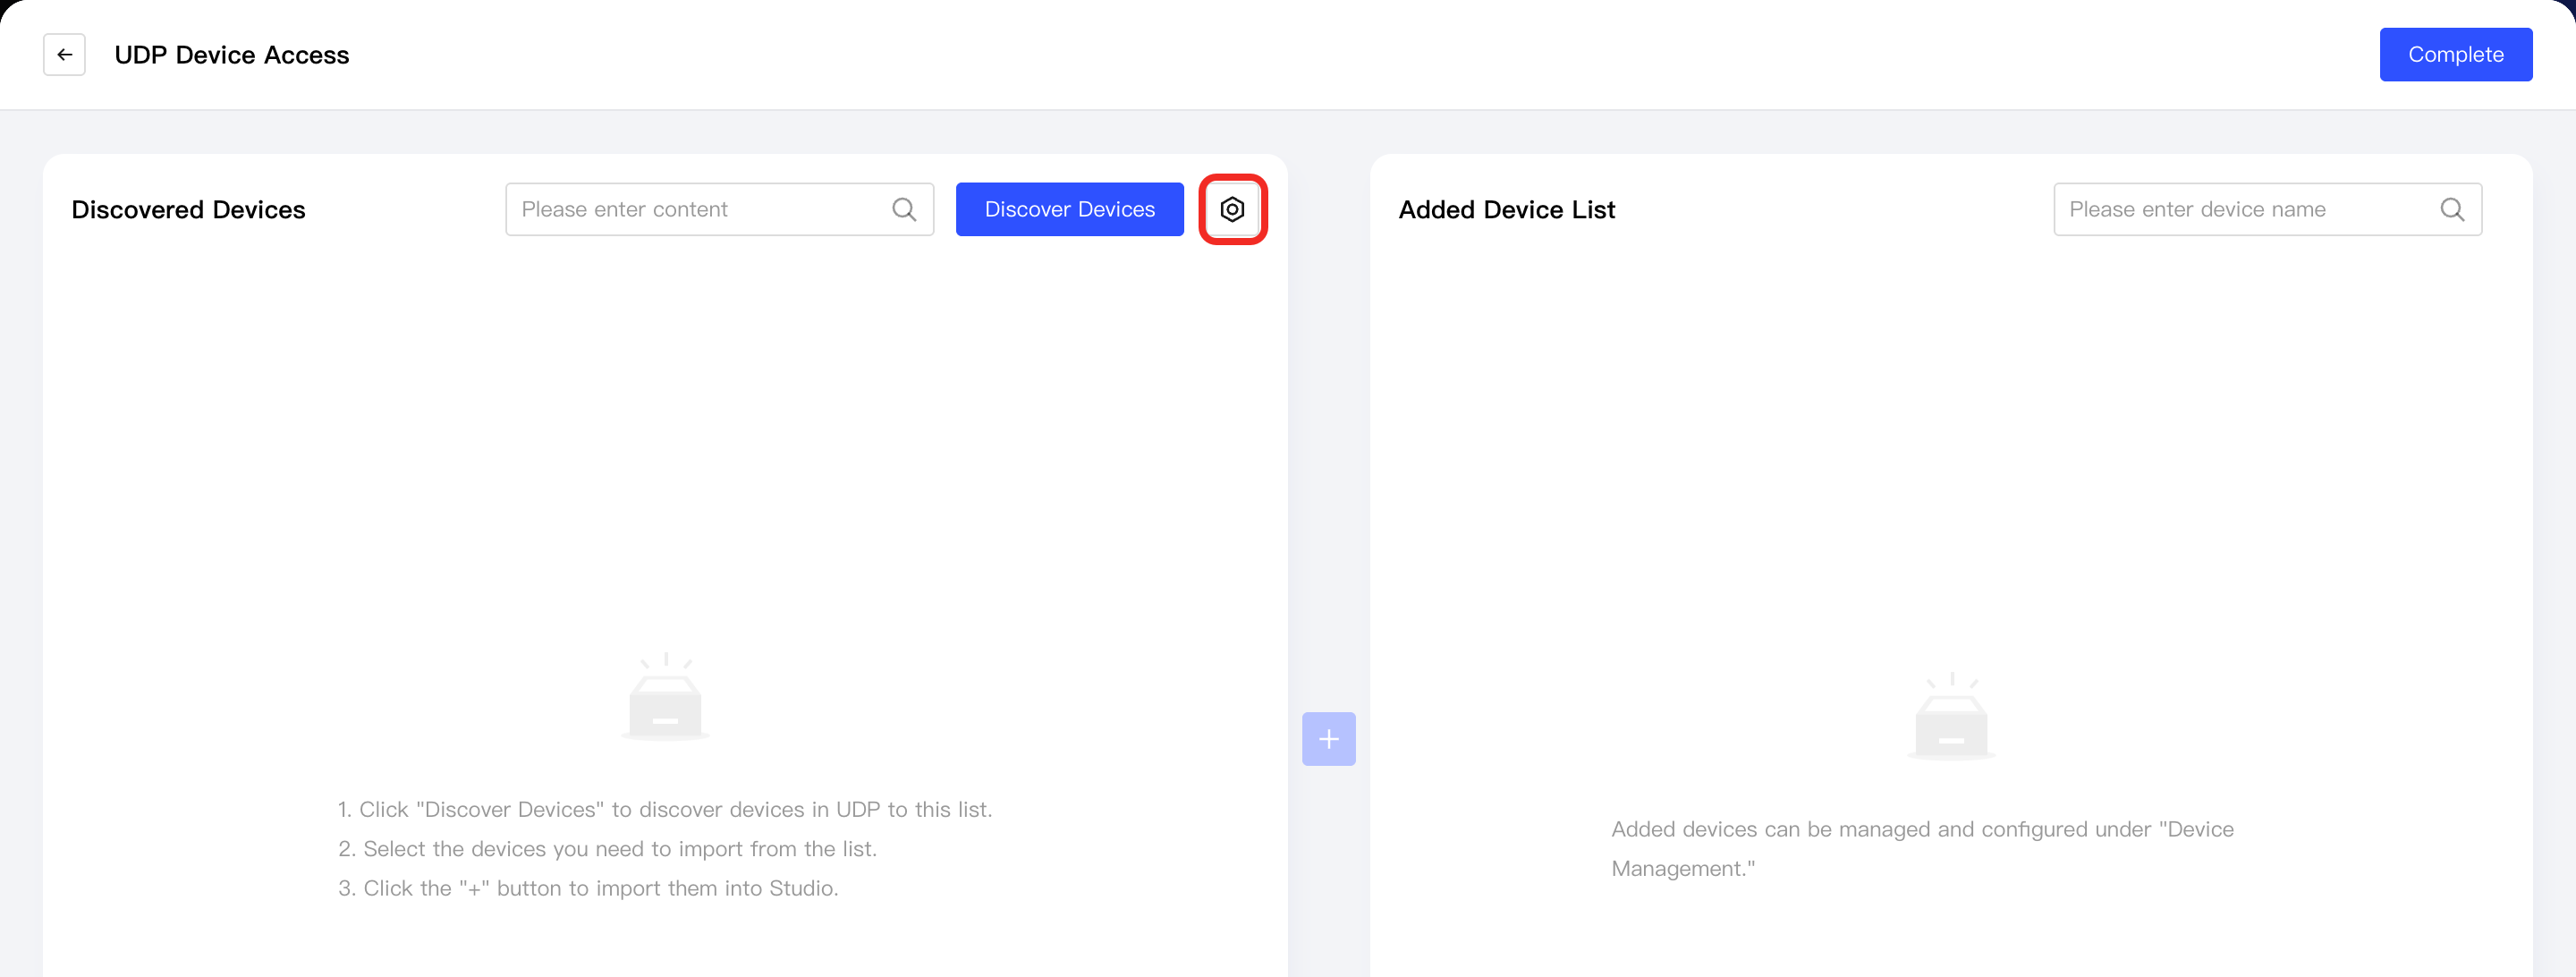
(Optional) Click the ⚙ icon.
 tip
tipIf there is no UDP server, you can skip this configuration. In that case, it is recommended to directly specify the target UDP device's IP address and port number in the return value of parseDiscoveryResponse in the JS script to achieve precise device discovery and integration.
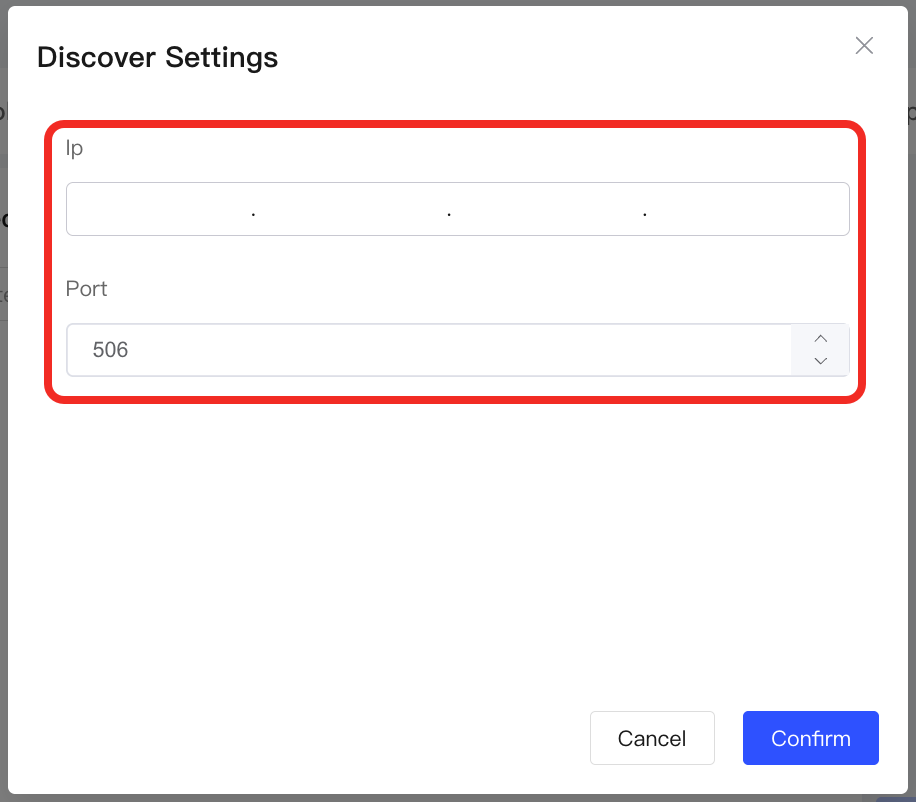
Enter the UDP server IP address and port number in the popup. This information will be used by the buildDiscoveryRequest interface in the JS script to instruct Aqara Studio to automatically discover all UDP devices at the specified address.
-
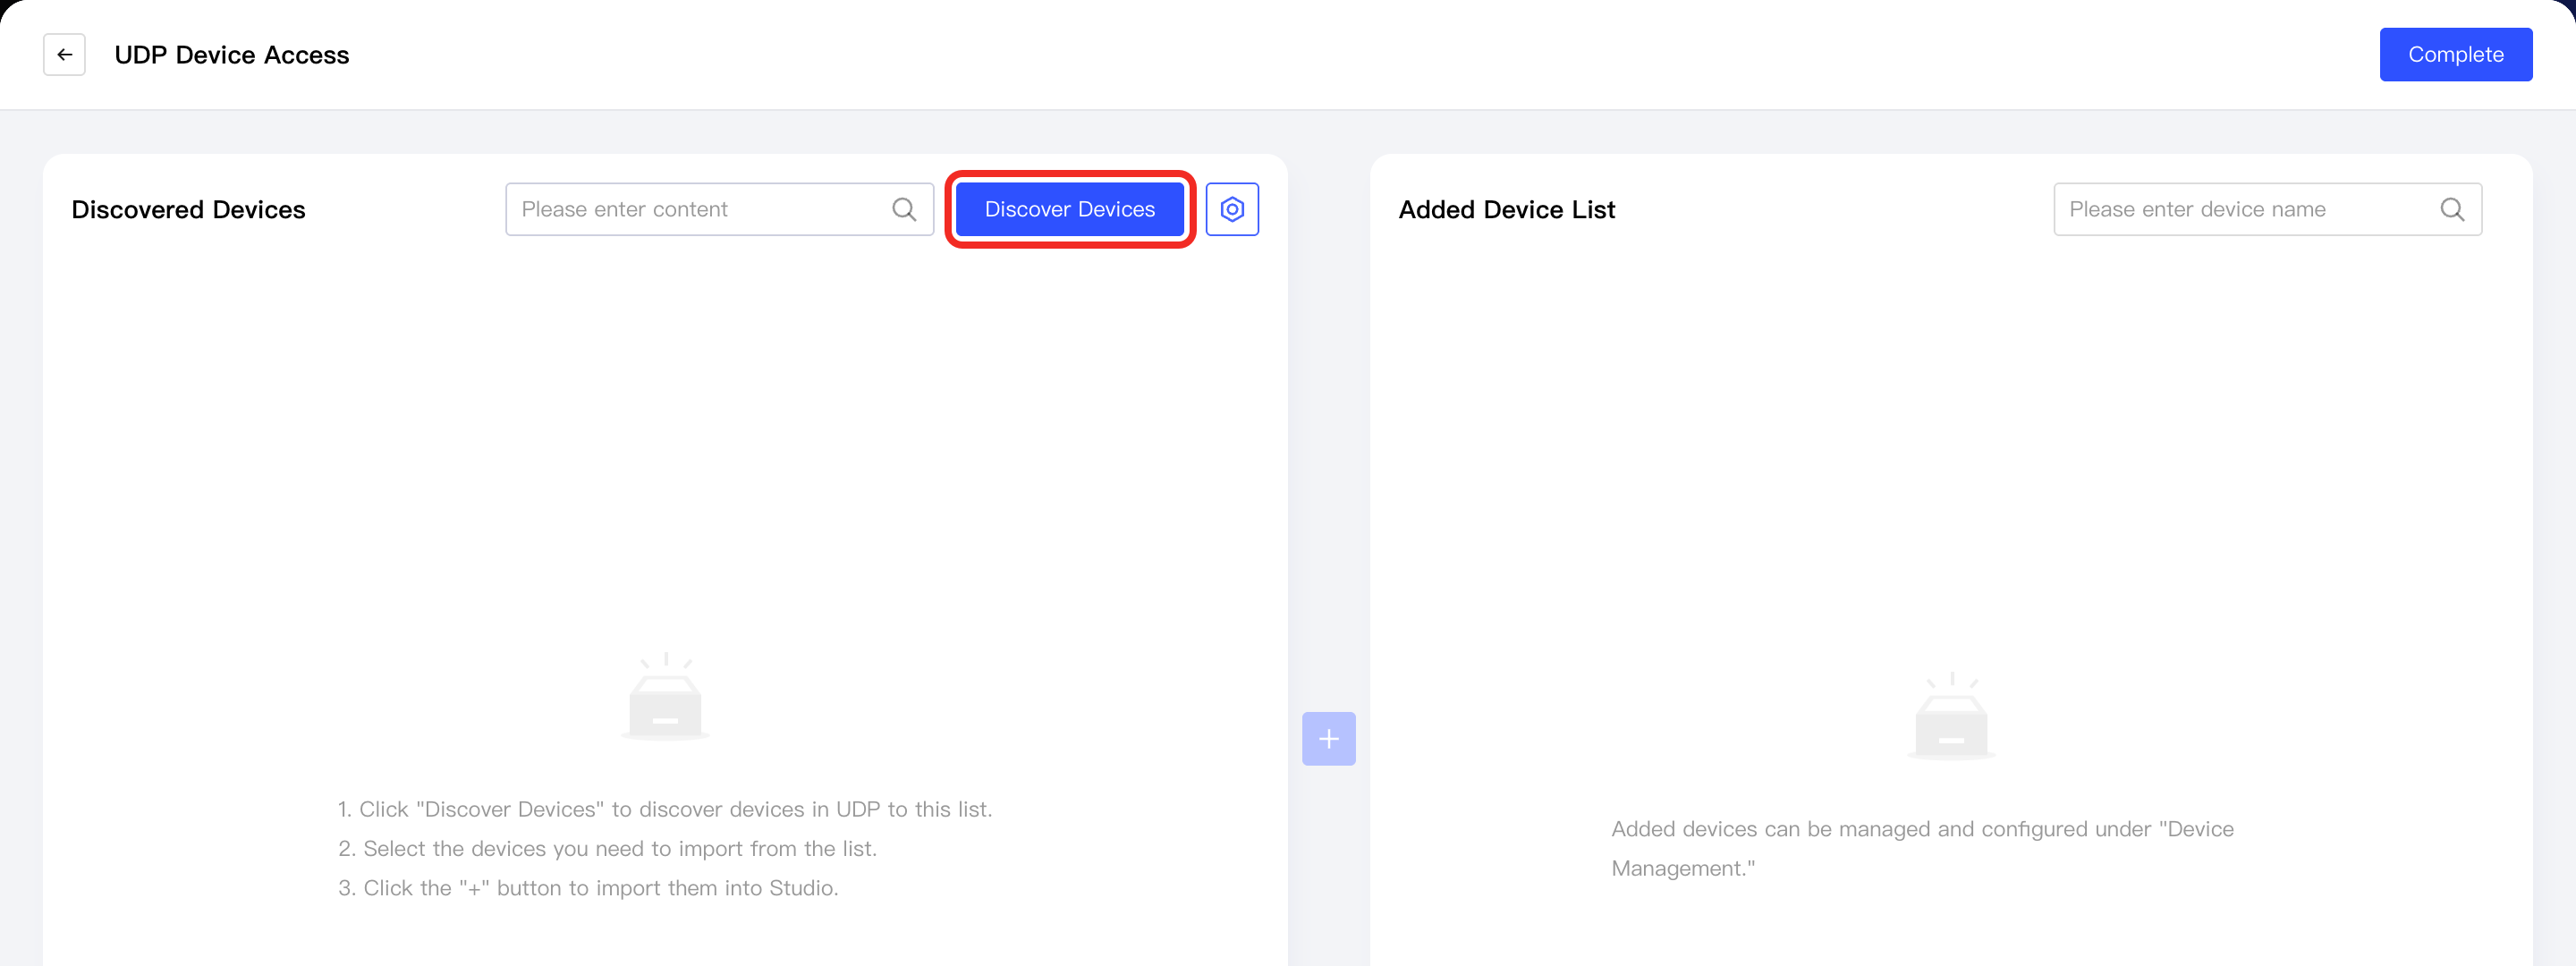
Click the Discover Devices button.
Aqara Studio will automatically scan and identify UDP devices that can be integrated based on the JS script you wrote, and the discovered devices will be displayed in the Discovered Devices list.
-
Select the devices to integrate and click the + button in the center.
Newly added devices will appear in the Added Device List on the right. Click the Complete button to exit the add device process.
-
You will then see the successfully added devices under the UDP node in the left Protocols and Devices panel, as well as in the device list on the UDP management page.
Add Points
-
Under the UDP node, select a UDP device and click the Add Point button.
-
Click the Discover Points button.
tip- If the device function points are dynamic, implement the buildDiscoverPointsRequest and parseDiscoverPointsResponse interfaces in the JS script.
In this case, when you click the Add Point button, Aqara Studio calls buildDiscoverPointsRequest to dynamically discover device function points, and uses the return value of that interface as the input of parseDiscoverPointsResponse. - If the device function points are static, implement the parseDiscoverPointsResponse interface in the JS script, and directly provide the target device's function-point list in the return value.
In this case, when you click the Add Point button, Aqara Studio will discover these function points directly.
- If the device function points are dynamic, implement the buildDiscoverPointsRequest and parseDiscoverPointsResponse interfaces in the JS script.
-
In the Discovered Points list, check the required points and click the middle + button.
Newly added points will appear in the Added Points list on the right. Click the Complete button to exit the add points process.
-
You will then see the successfully added points on the management page of that UDP device.
Next Steps
Now, you can view details and control the device, or use the device in automation.