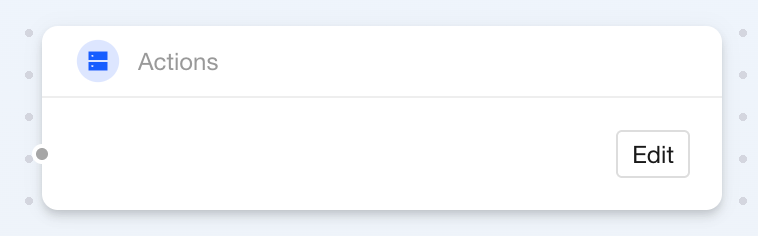
Device Blocks
Screenshots in this guide may look slightly different from what you see on your device. Please follow the actual interface for reference.
Overview
As the core of smart spaces, devices serve as the bridge connecting perception and response. Without devices, there would be no implementation of intelligence. In Aqara Studio, you can use device blocks to implement an "Event-Condition-Action" logic for monitoring device events and states, real-time device status retrieval, and device control, building flexible automation workflows.
The device category includes the following blocks:
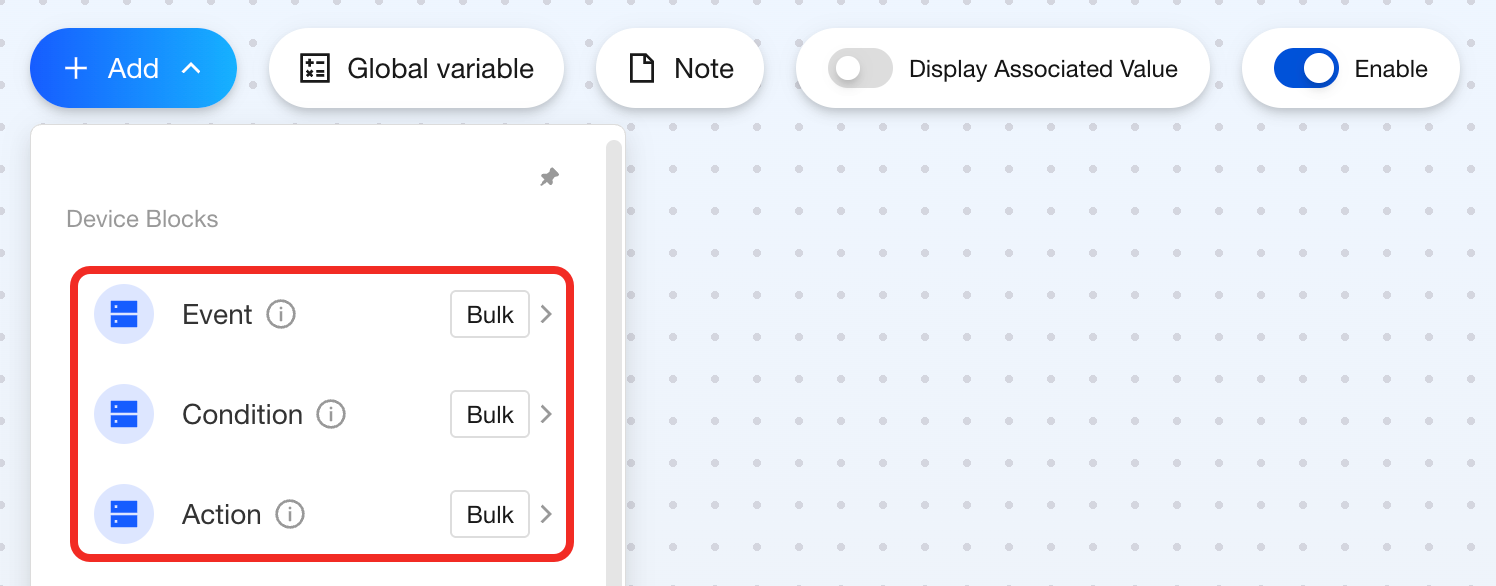
Since device blocks depend on specific device capabilities, different devices may only support certain blocks.
Event
Feature
You can use this block to trigger subsequent operations when a device experiences an event (such as a button press or voice command reception) or enters a state (such as environmental data changes or door/window opening).
Components

This block is single-output type, and serves as a trigger for your subsequent automation operations. You can configure event or state listener based on device support. The configuration parameters within the block vary as follows:
| Connection Point or Parameter | Required | Description |
|---|---|---|
| Target Event | ✔ | When monitoring events, set the target event here, such as greater than, less than, equal to, increase, etc. |
| Target Value | ✔ | When monitoring events, set the comparison target value here. |
| Target State | ✔ | When monitoring states, set the target state here. |
| Output Point | ✔ | Connect to the following step. |
How to Use
Monitor 1 Event or State
-
After selecting this block, the system will pop up a device selection window where you can view the available events and states.
After checking 1 block, you can add the block anywhere on the canvas to start real-time monitoring.

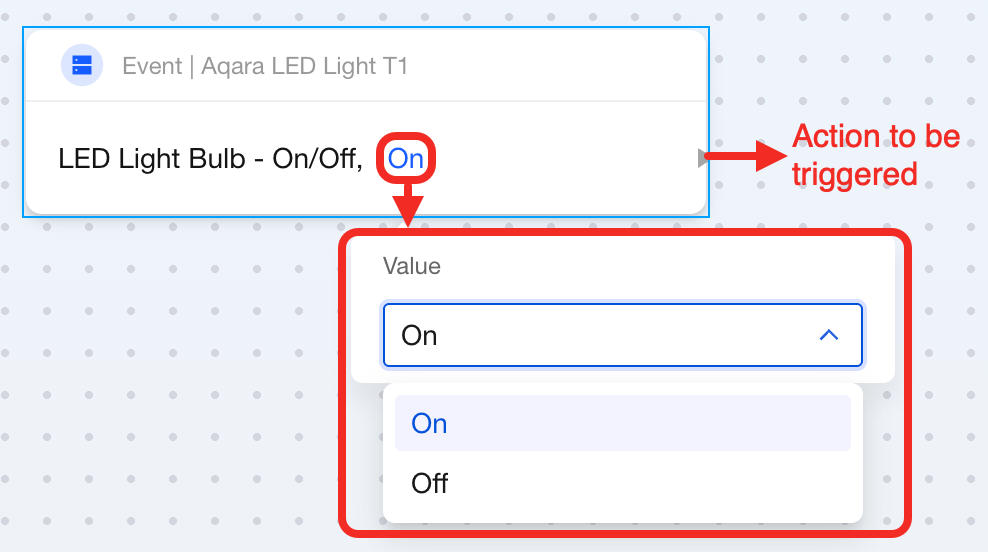
-
Set up monitoring by changing the properties within the block and connect the following step on the right side of the block.
Monitor Multiple Events and States
The following explains how to simultaneously monitor multiple device events and states, triggering subsequent workflows when any event or state occurs.
-
Click the "Bulk" button next to the "Event" button.

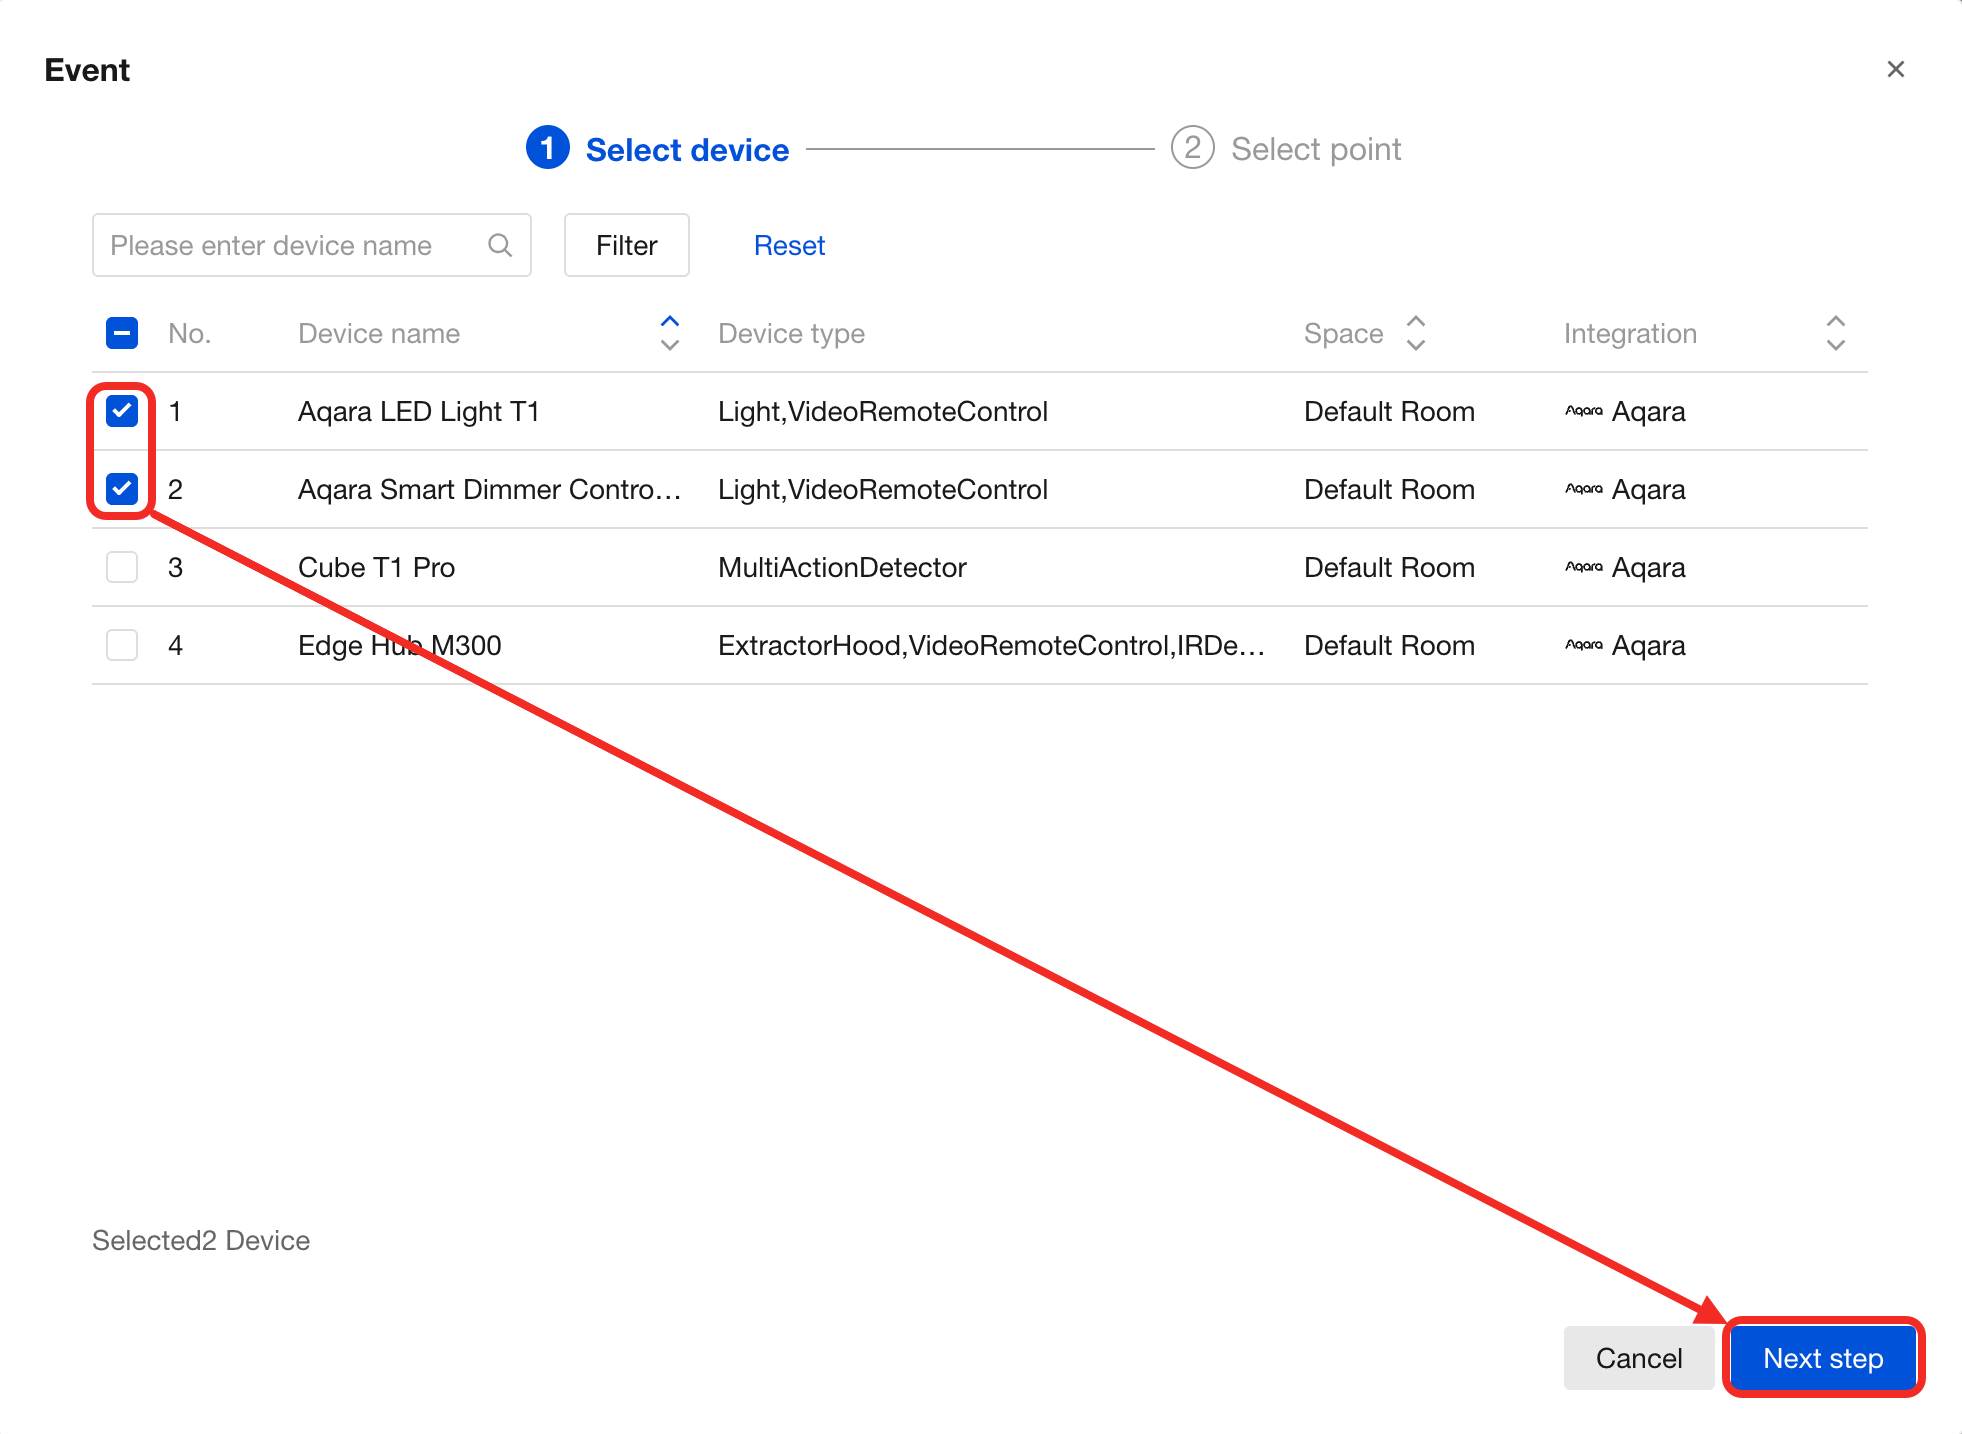
-
Select the devices you need to monitor and click "Next step".
-
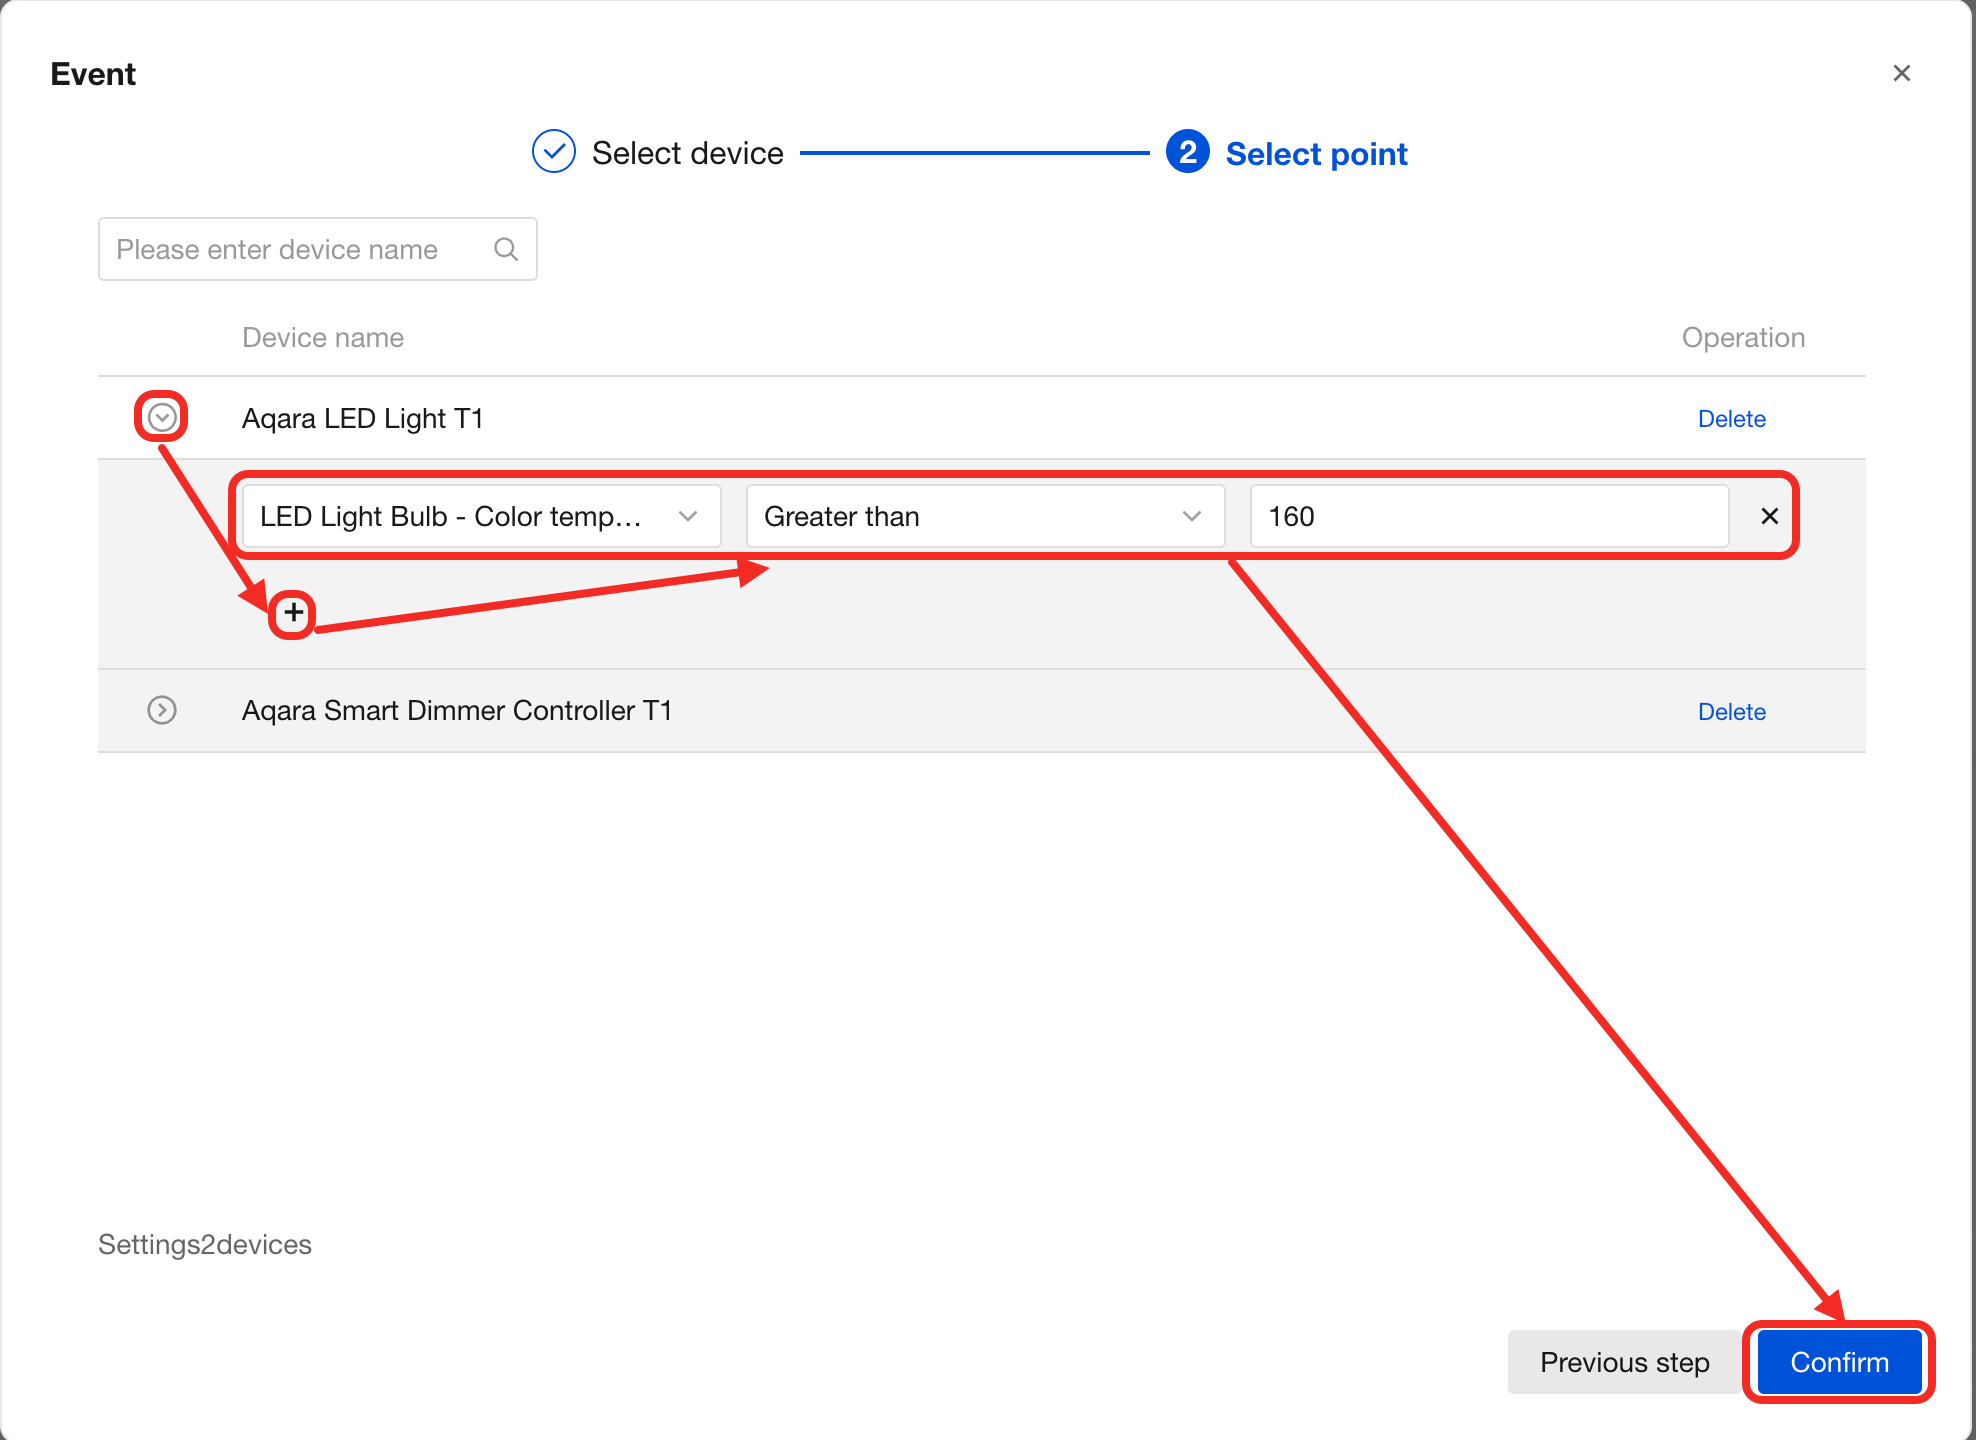
Expand the devices, click the + button to add the events or states you need to monitor. After adding, click Confirm.
-
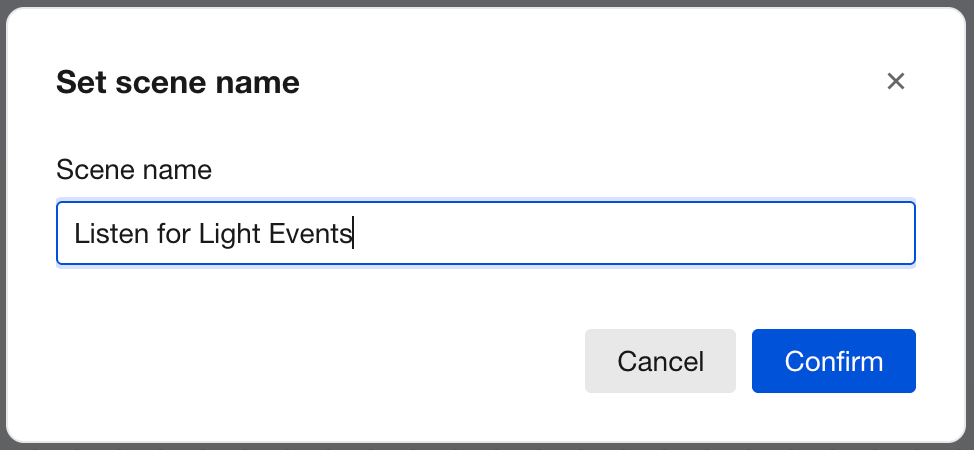
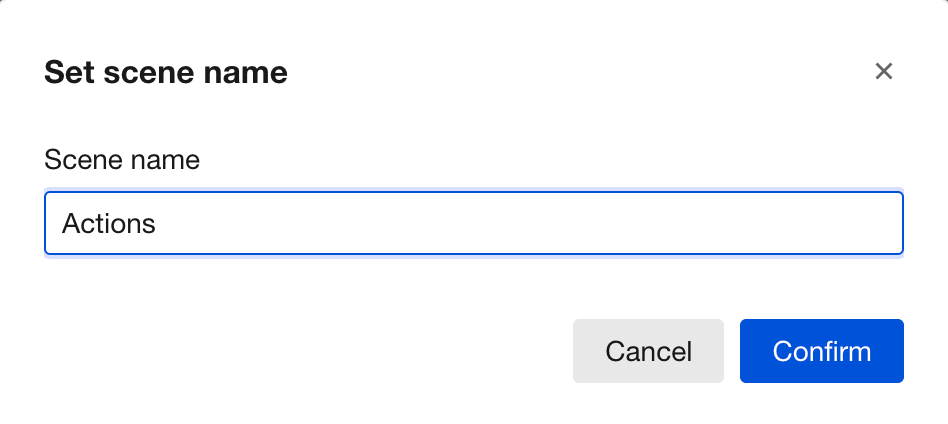
Set a scene name for this bulk monitoring.
-
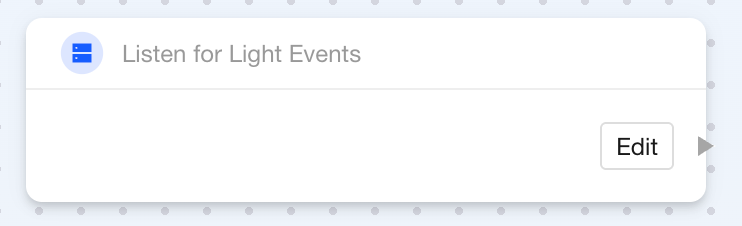
Click anywhere on the canvas to add this bulk monitoring block, as shown below:
Condition
Feature
You can use this block when you need to perform different operations based on the boolean result of determining whether a device is in a specific state (such as whether a switch is on).
Components
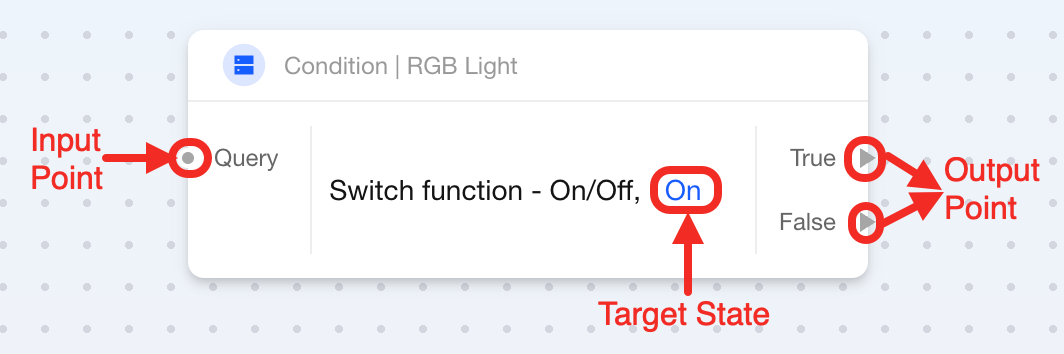
This block is multi-point type with 1 configuration parameter, 1 input point, and 2 output points. It directs the workflow to different paths based on query results. Details are as follows:
| Connection Point or Parameter | Required | Description |
|---|---|---|
| Query (Input Point) | ✔ | Connect to the step that triggers this state query operation. |
| Target State | ✔ | Set the specific state to query, such as "on", "off". |
| True (Output Point) / False (Output Point) | At least one of the two is connected | True: it connects to steps to be executed when device state matches the target state; False: it connects to steps to be executed when device state does not match the target state. |
How to Use
Check 1 State
-
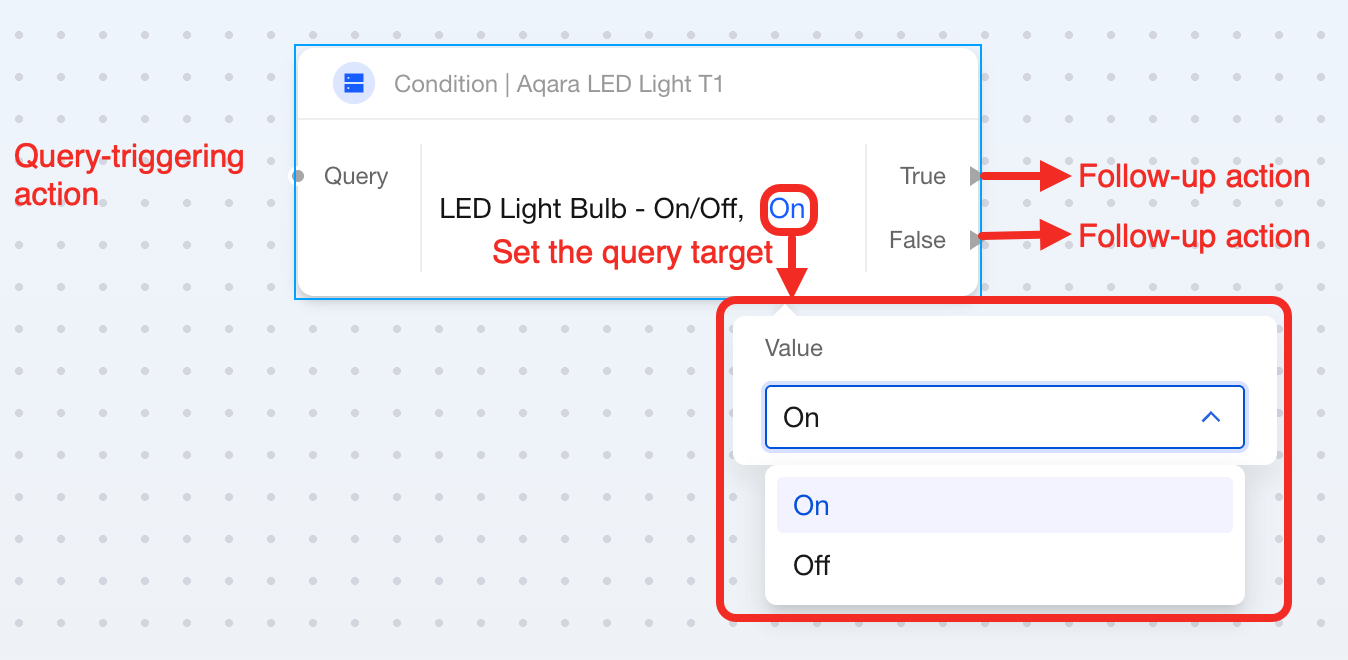
After selecting this block, the system will pop up a device selection window where you can check the target device and its state in the list, then add the block anywhere on the canvas.

-
Connect the block that triggers this state query to the input point of this block.
Set the target state you want to query within the block.
Finally, connect two different subsequent operations based on query results: one for when device state matches the target state, and another for when it doesn't match.
Check Multiple States
The following explains how to simultaneously check multiple states to trigger subsequent workflows.
-
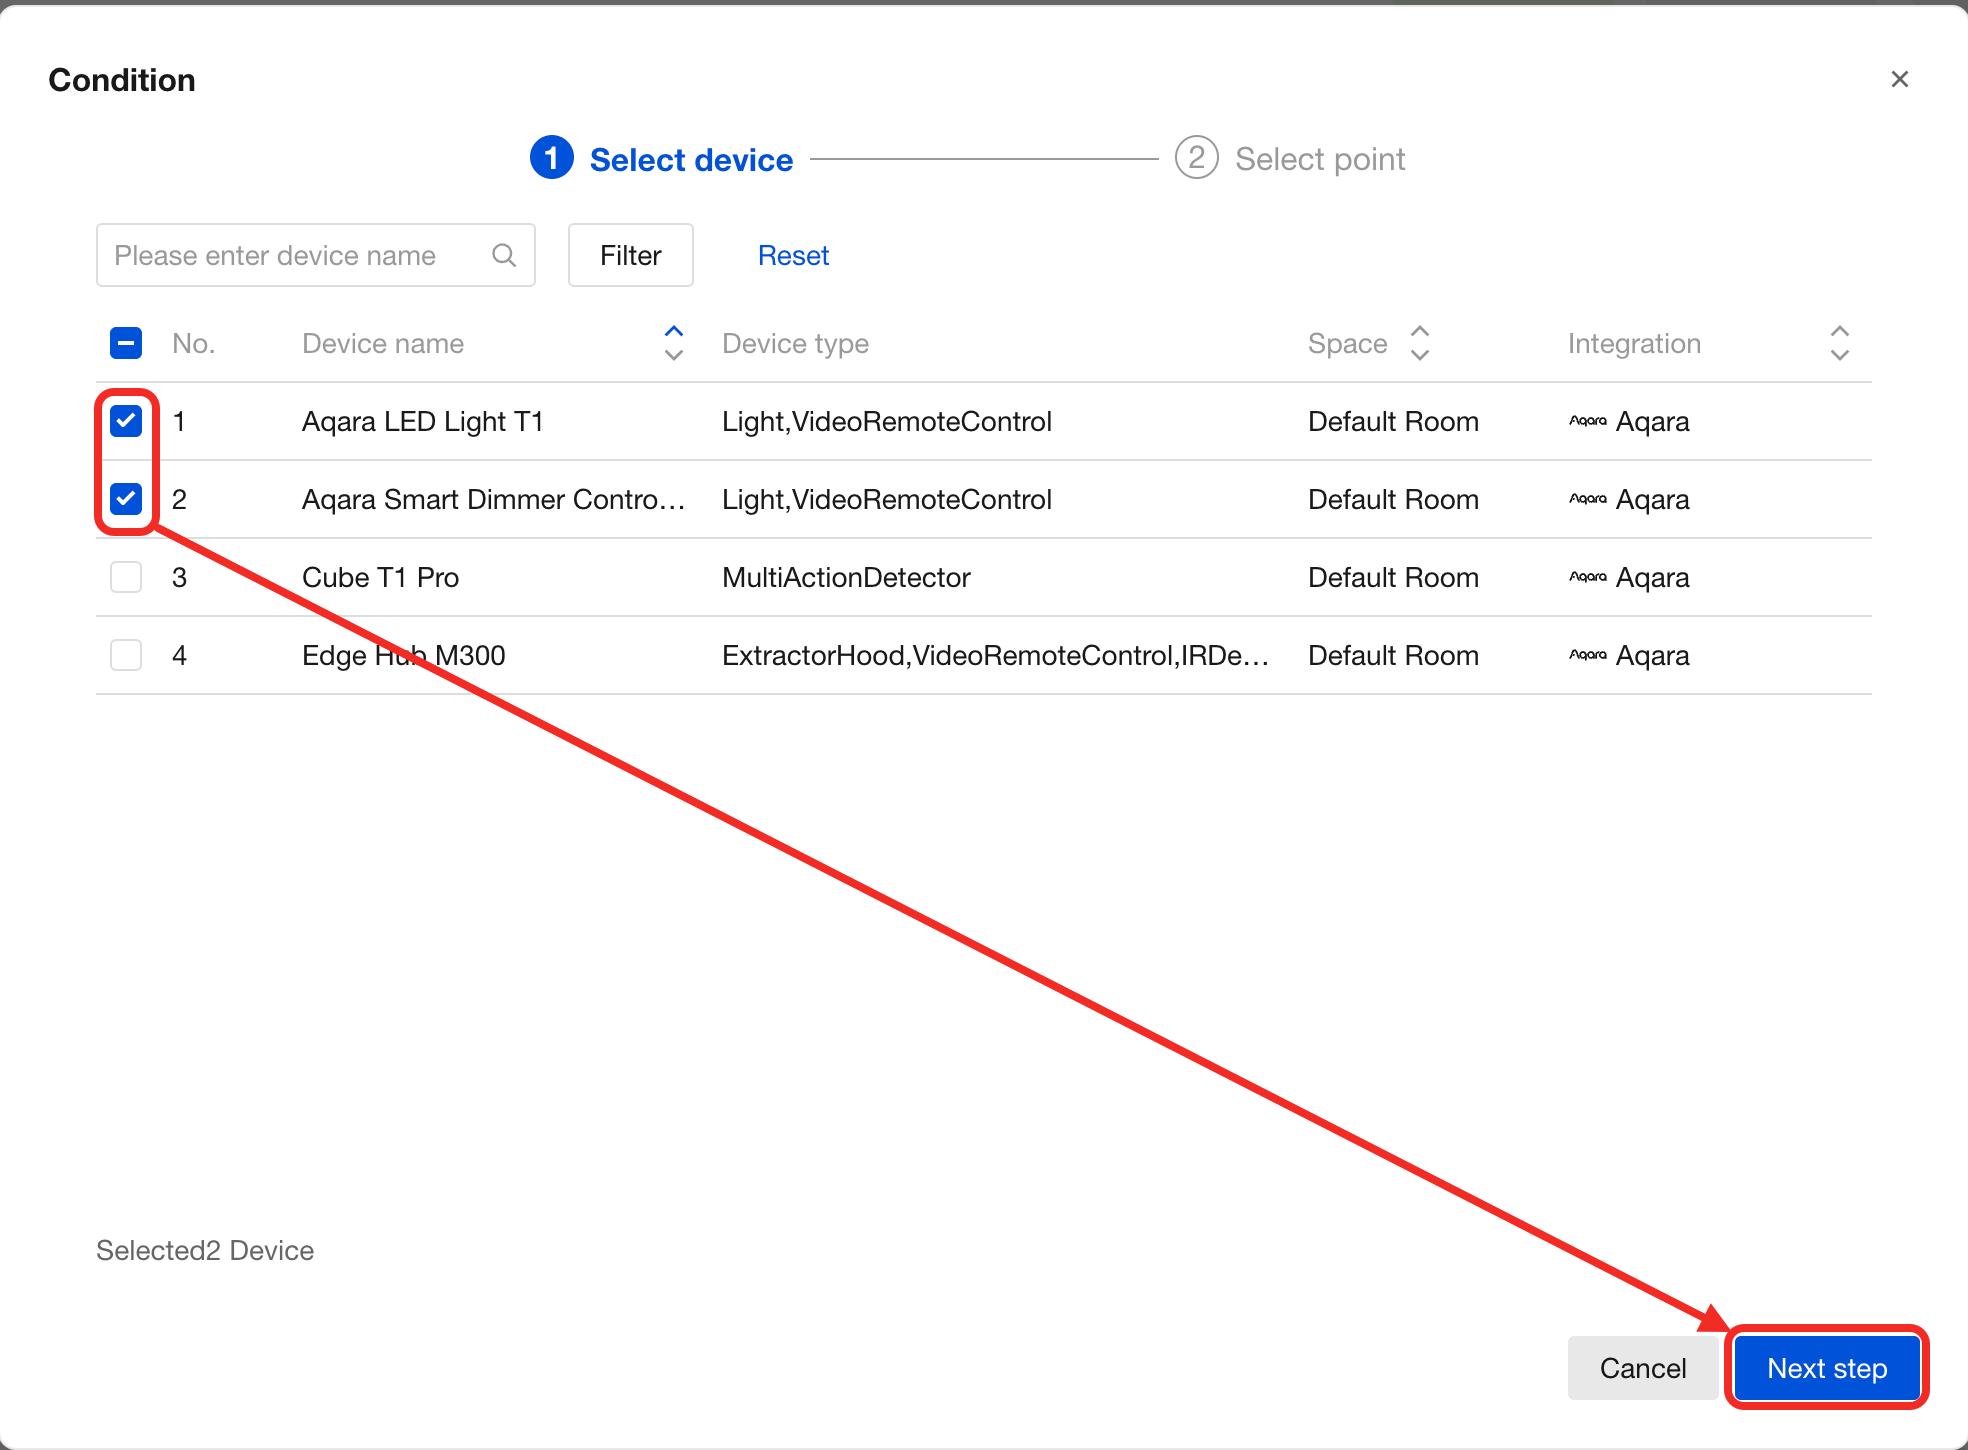
Click the "Bulk" button next to the "Condition" button.

-
Select the devices whose states need to be checked and click "Next step".
-
Choose "Satisfy any conditions" or "Satisfy all conditions", expand the devices, and click the "+" button to add the states you need to check. After adding, click "Confirm".
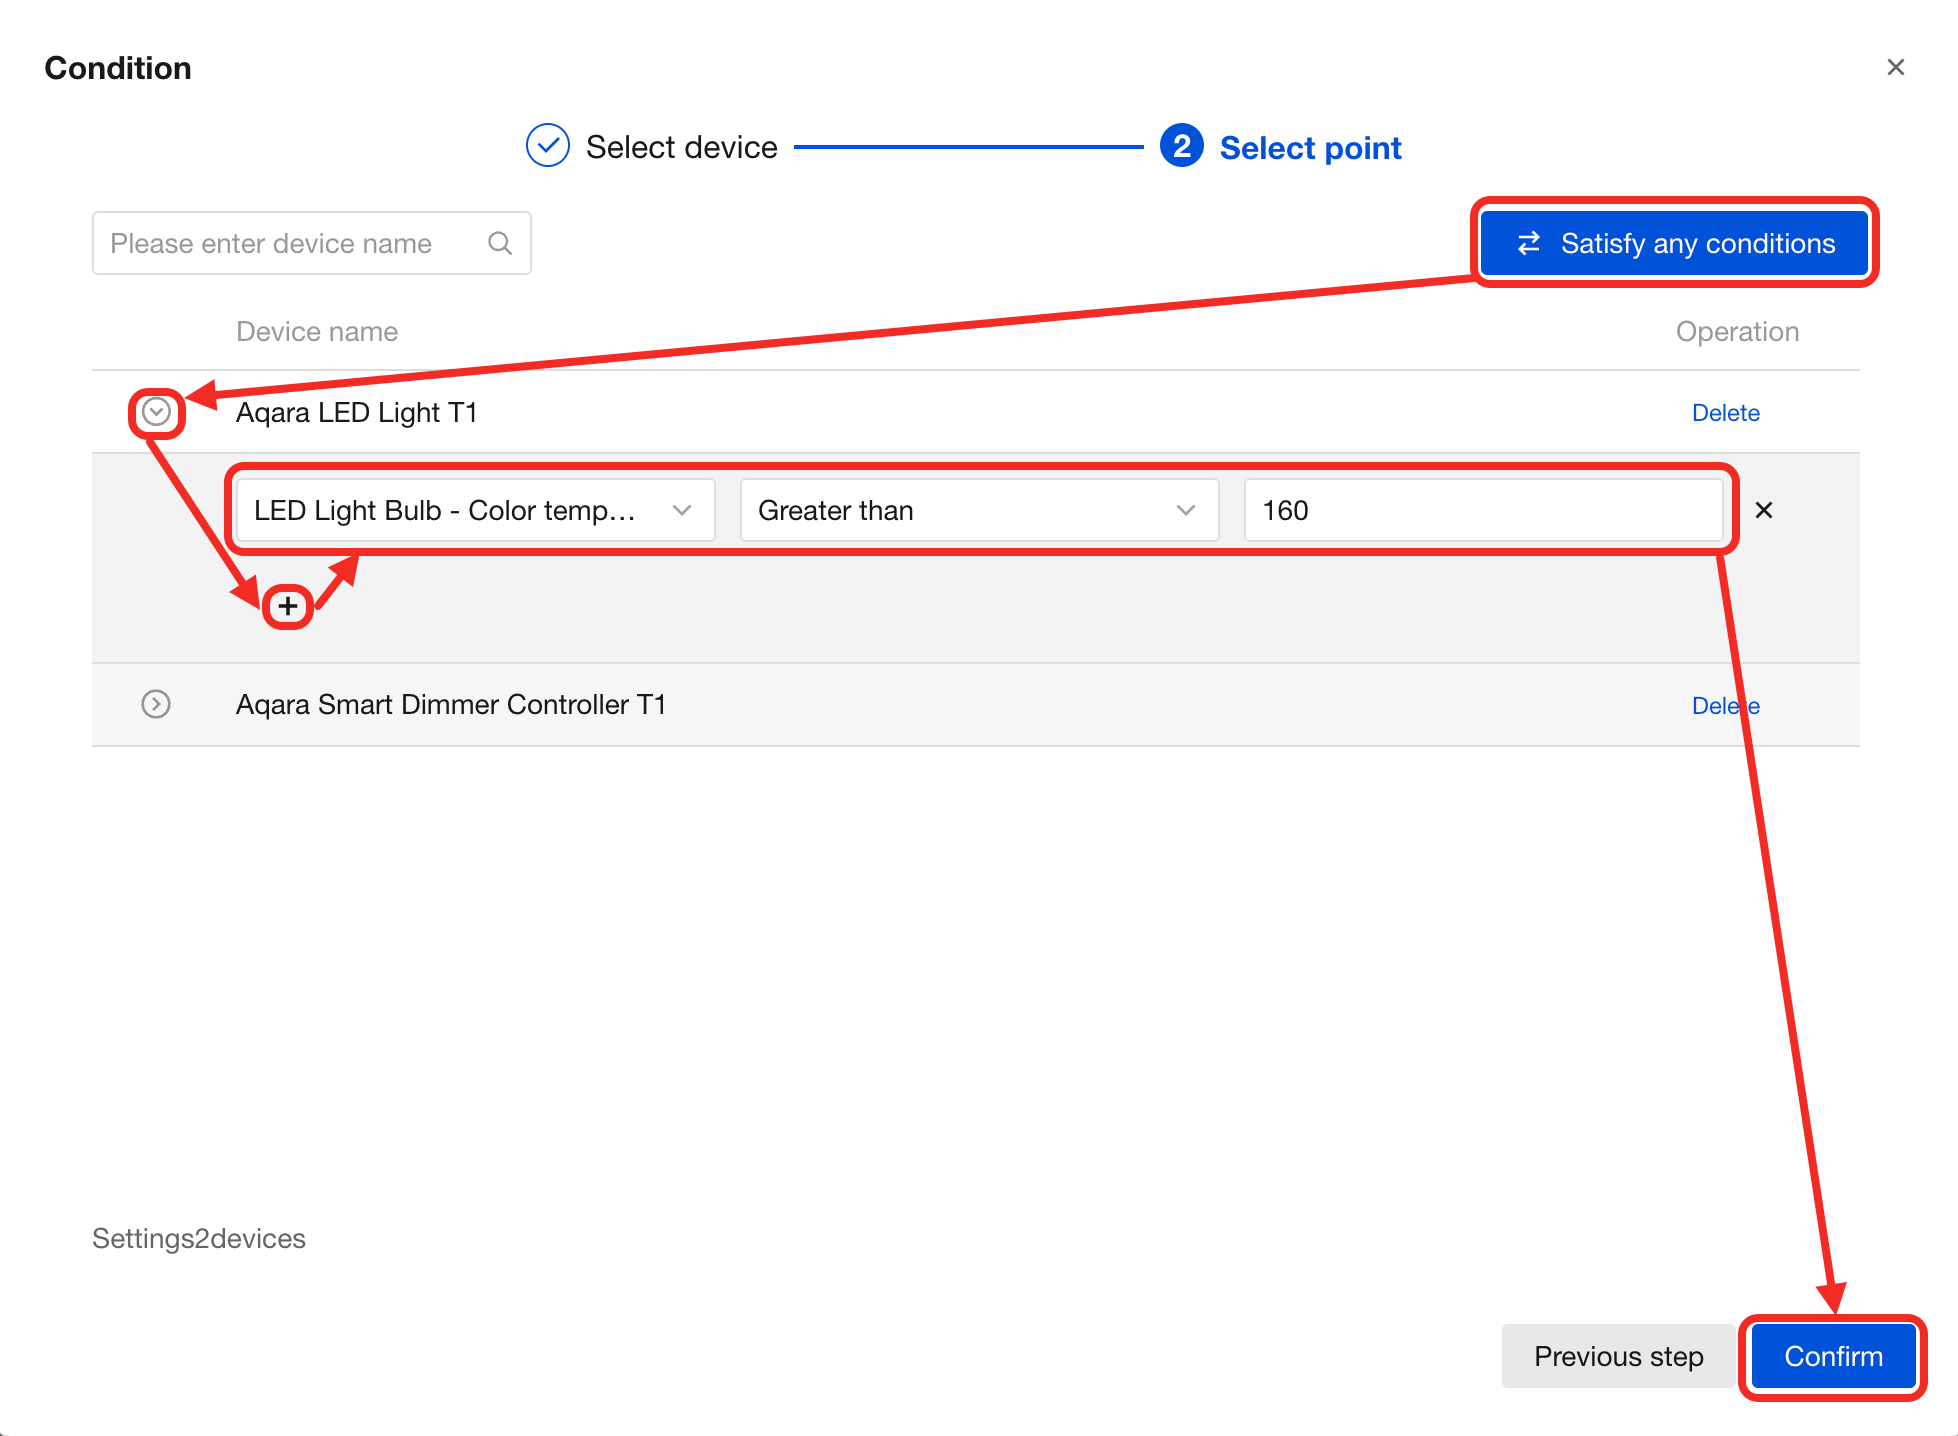
-
Set a scene name for this bulk check.
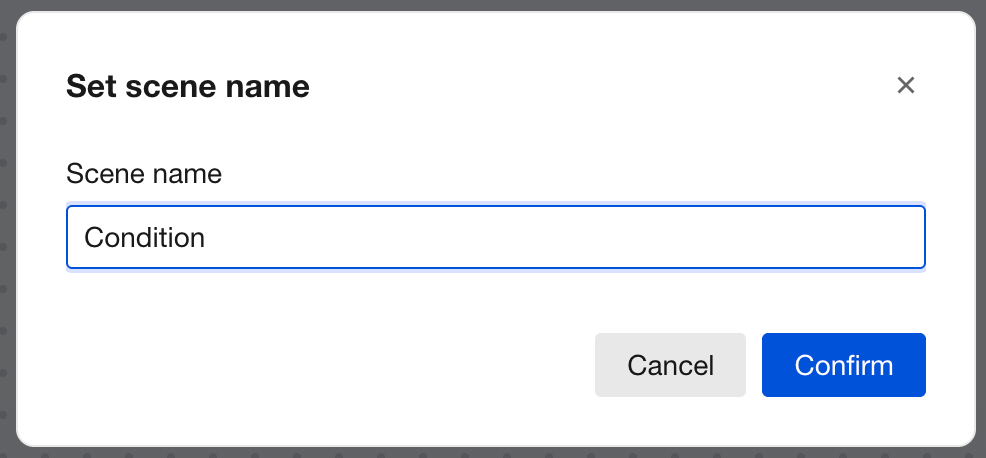
-
Click anywhere on the canvas to add this bulk check block, as shown below:

Action
Feature
Use this block when you need to make a device perform a specific action (such as turning lights on/off, adjusting brightness or color temperature).
Components
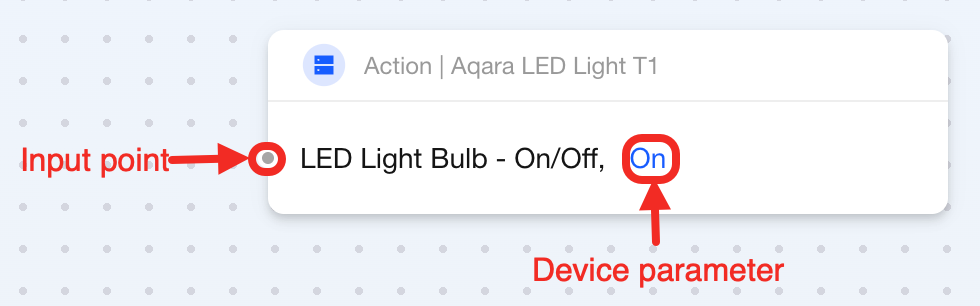
This block is single-input type and serves as the end of your automation operations. Details are as follows:
| Connection Point or Parameter | Required | Description |
|---|---|---|
| Input Point | ✔ | Connect to the behavior that triggers device operation. |
| Device Parameters | ✔ | Set the device parameters you want to modify, such as switch state, cooling temperature, color temperature, etc. |
How to Use
Perform 1 Action
-
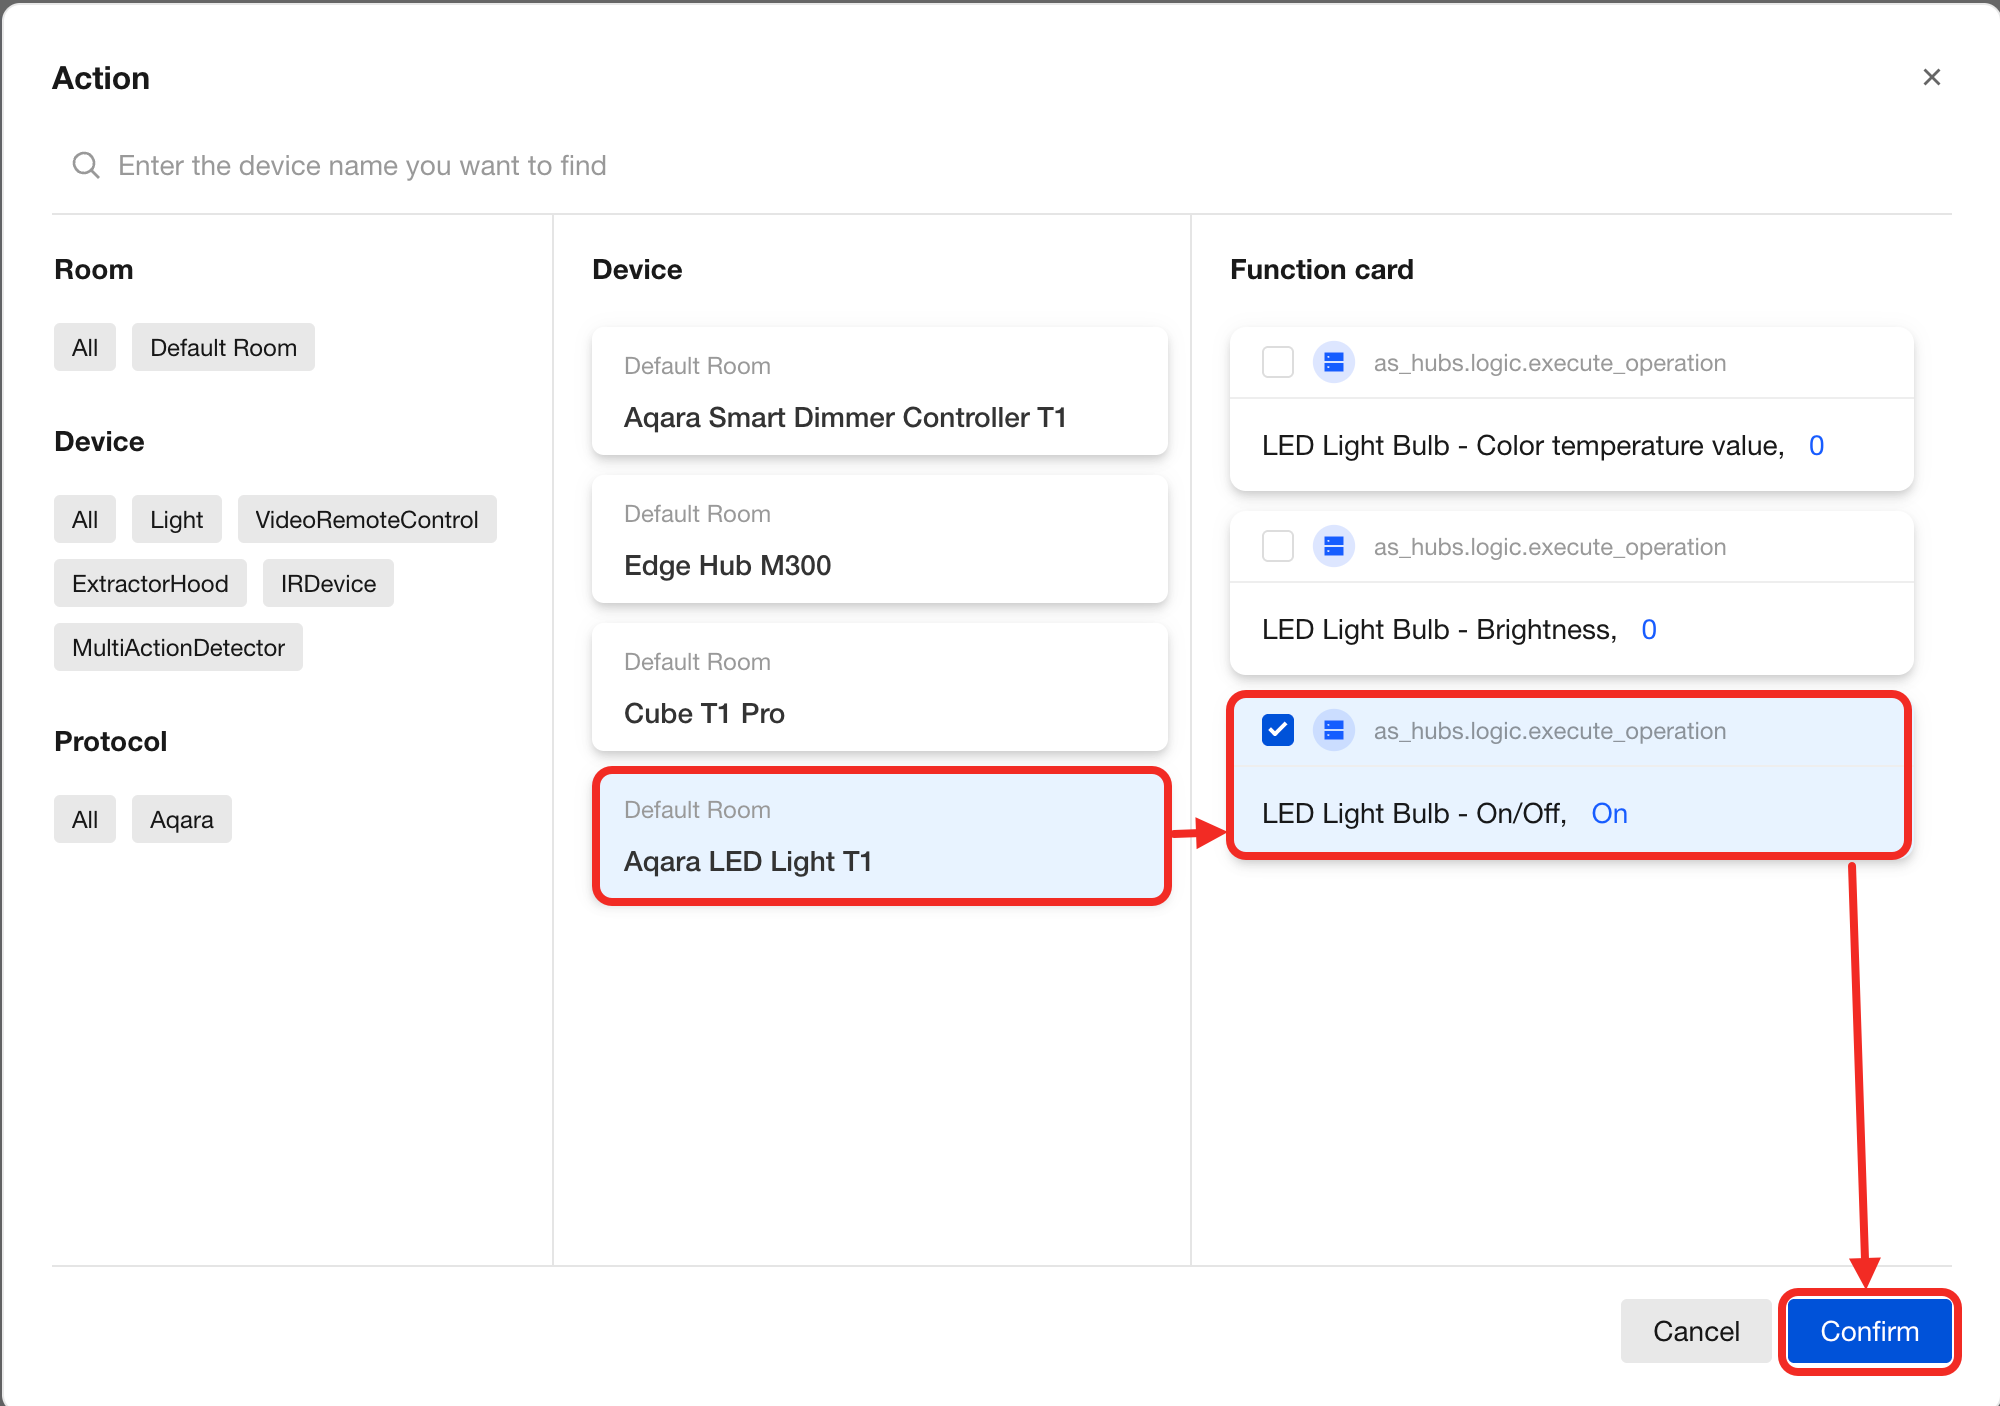
After selecting this block, the system will pop up a device selection window where you can check the target device and target action in the list, then add the corresponding action block anywhere on the canvas.
-
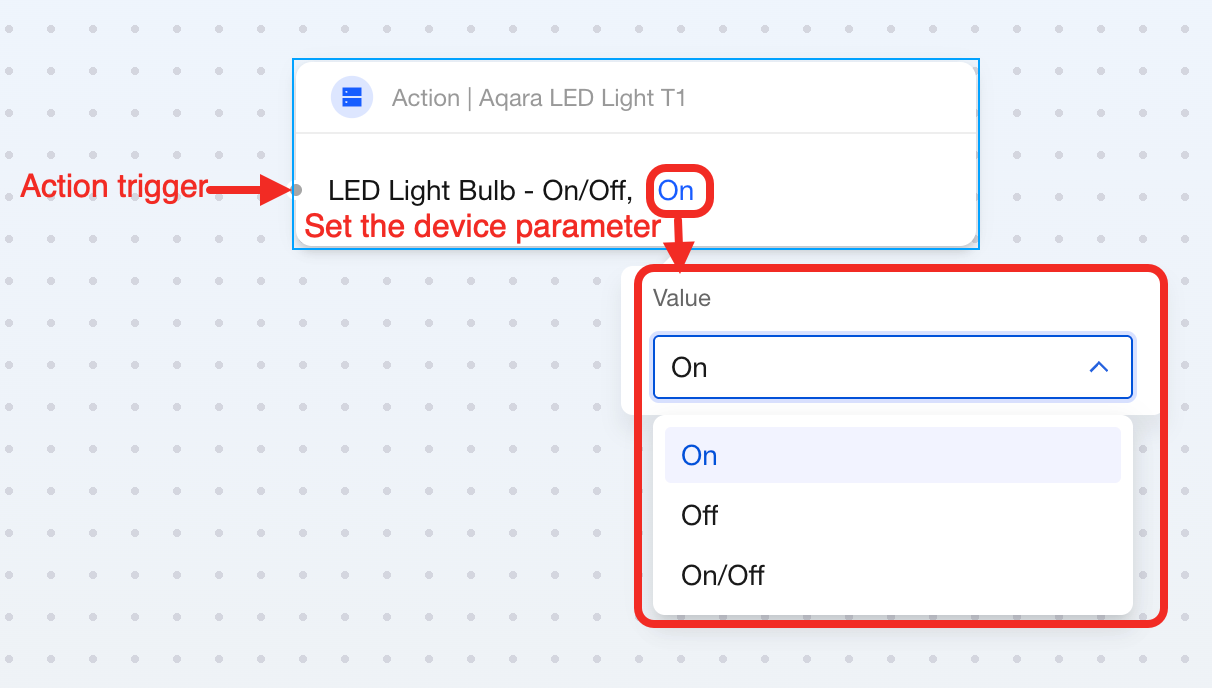
Connect the block that triggers this device operation to the input point of this block. Then, set the device parameters you want to modify within the block.
Perform Multiple Actions
The following explains how to add multiple actions.
-
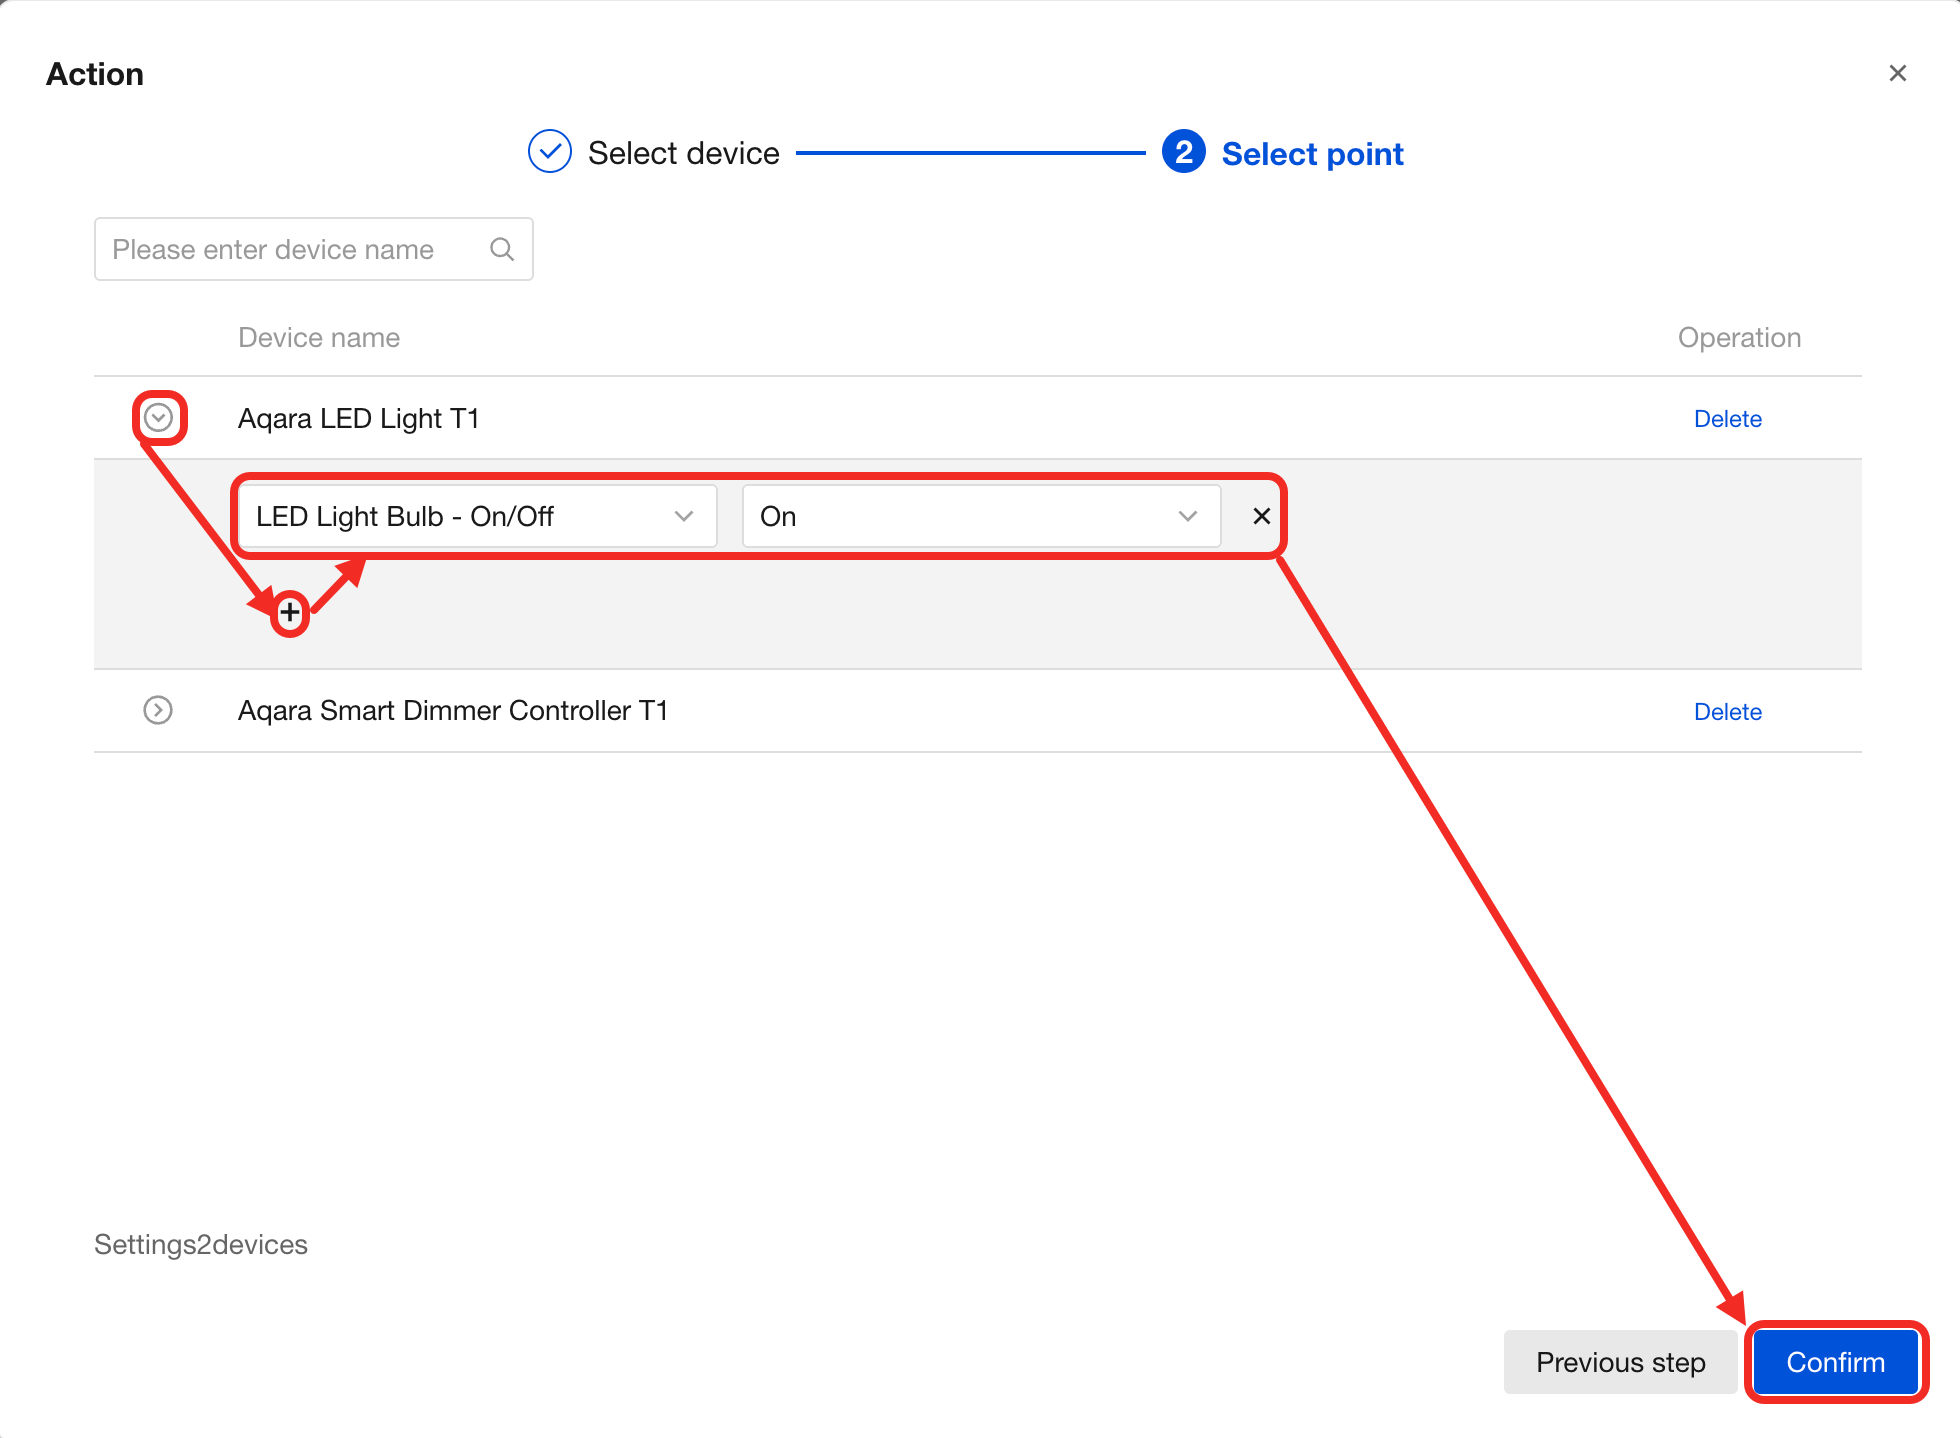
Click the "Bulk" button next to the "Action" button.

-
Select the devices that need to execute actions and click "Next".

-
Expand the devices, click the "+" button to add the actions you need to execute. After adding, click "Confirm".
-
Set a scene name for this bulk operation.
-
Click anywhere on the canvas to add this bulk operation block, as shown below: